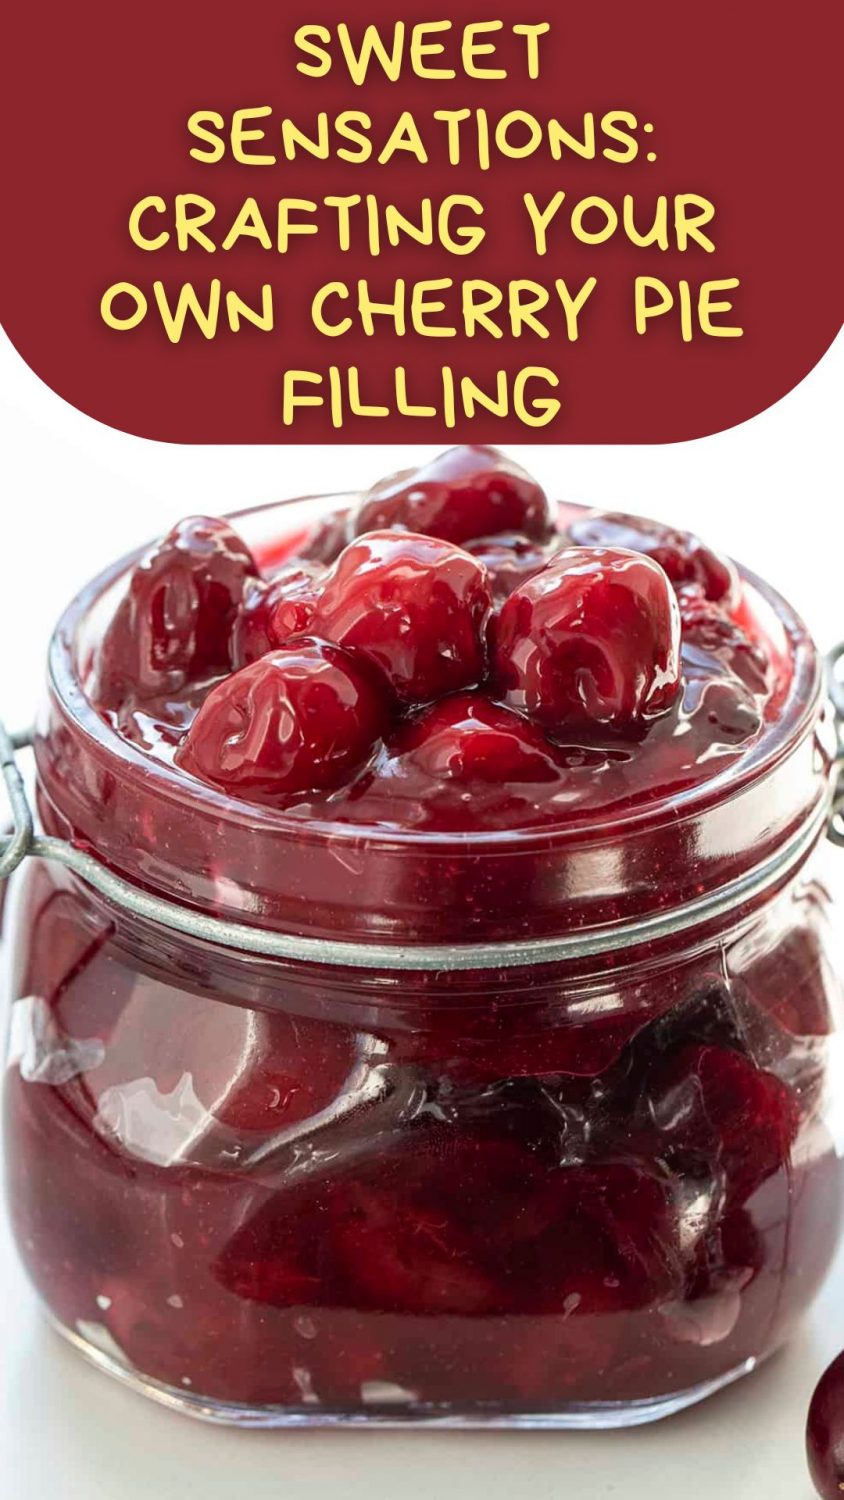
Say goodbye to canned options and embrace the simplicity of creating your own, where you have full control over the ingredients. With just five simple components, this cherry pie filling is not only delicious but also a smart and wholesome choice for your culinary adventures.
Ingredients
Cherries:
Opt for fresh sweet cherries such as Rainier cherries for the ultimate pie filling experience. Discover how to pit cherries without the need for any special equipment.
Sugar:
Granulated sugar sweetens the pie filling, adding the perfect touch of sweetness.
Cornstarch:
Create a slurry by combining cornstarch with water, contributing to the thickening of the filling.
Lemon Juice:
Balance the sweetness with a hint of acidity by adding lemon juice. While freshly squeezed is preferred, bottled lemon juice can be a convenient alternative.
What Kind of Cherries to Use
When selecting cherries for this filling, prioritize fresh varieties like Rainier cherries, Bing cherries, or Chelan cherries. Explore the unique flavors these cherries bring to your homemade creation.
Can I Use Frozen Cherries?
Absolutely! Frozen cherries can seamlessly substitute fresh ones in this recipe, making it a versatile option for year-round enjoyment. Ensure the cherries are pitted for a hassle-free preparation process.
How to Pit Cherries Without Special Equipment
Pit cherries effortlessly without a cherry pitter by utilizing common household items. Whether it’s a sturdy straw, chopstick, skewer, or piping tip, you have options. Choose the method that suits you best, and witness the transformation of cherries into a perfect filling.
How to Store & Freeze Cherry Pie Filling
After preparing the pie filling, let it cool completely before storing. Seal it in a container and refrigerate for up to 4 days. For longer storage, freeze the cooled filling in a plastic storage bag with minimal air. Enjoy the convenience of thawing it in the refrigerator overnight when ready to use.
Ingredients
- 4 cups sweet red cherries, pitted (about 1½ pounds)
- ¼ cup (32 g) cornstarch (32 g or 3.6 cl)
- ¼ cup (62.5 g) water (62.5 g or 6.25 cl)
- ⅔ cup (133 g) granulated sugar (133 g or 13.3 cl)
- 1 tablespoon lemon juice (I prefer fresh squeezed) (1 tablespoon or 1.5 cl)
Instructions
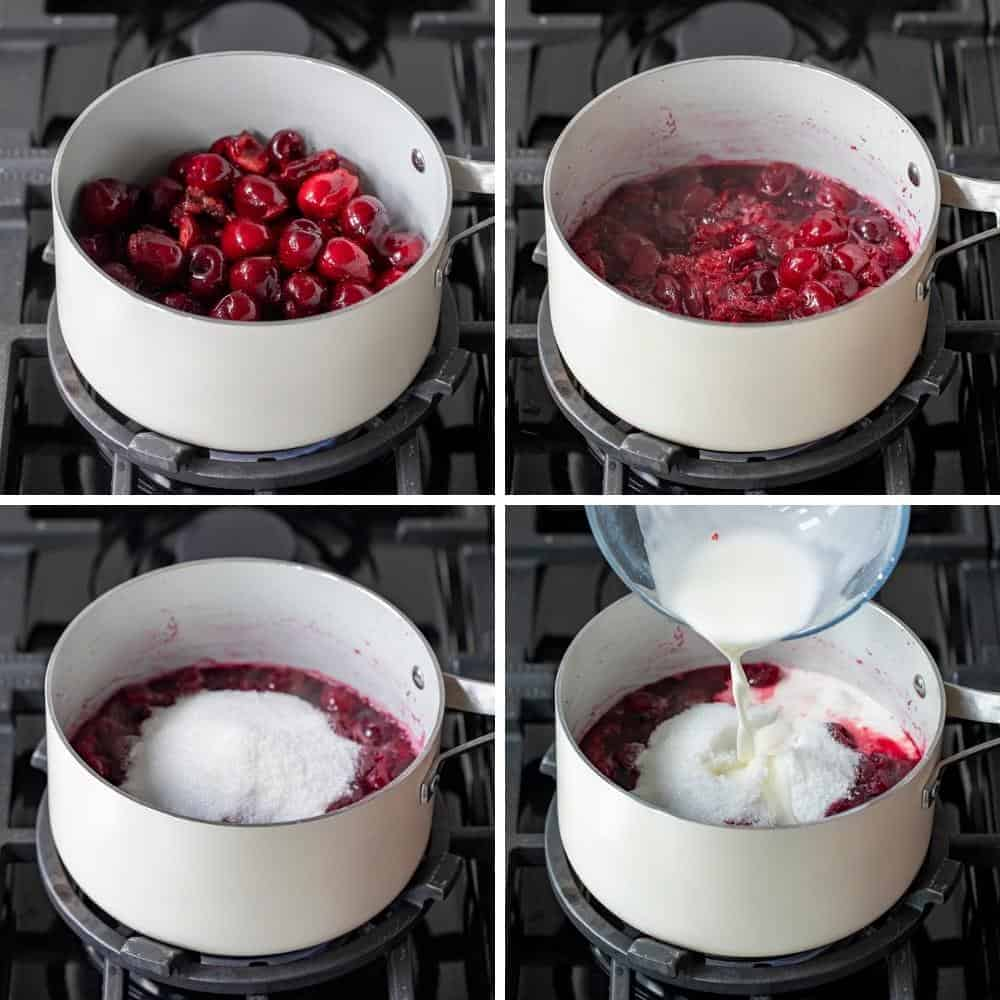
- In a medium saucepan over medium heat, add cherries. Cover and cook, stirring frequently, until the natural juices of the cherries are released, and the contents are beginning to simmer (about 10-15 minutes).
- In a small mixing bowl, whisk together cornstarch and water.
- Reduce heat to low and pour the cornstarch slurry, sugar, and lemon juice into the cherries. Stir to combine.
- Bring the mixture back to simmer and continue cooking until the mixture has thickened. (This happens fast, 1-2 minutes.)
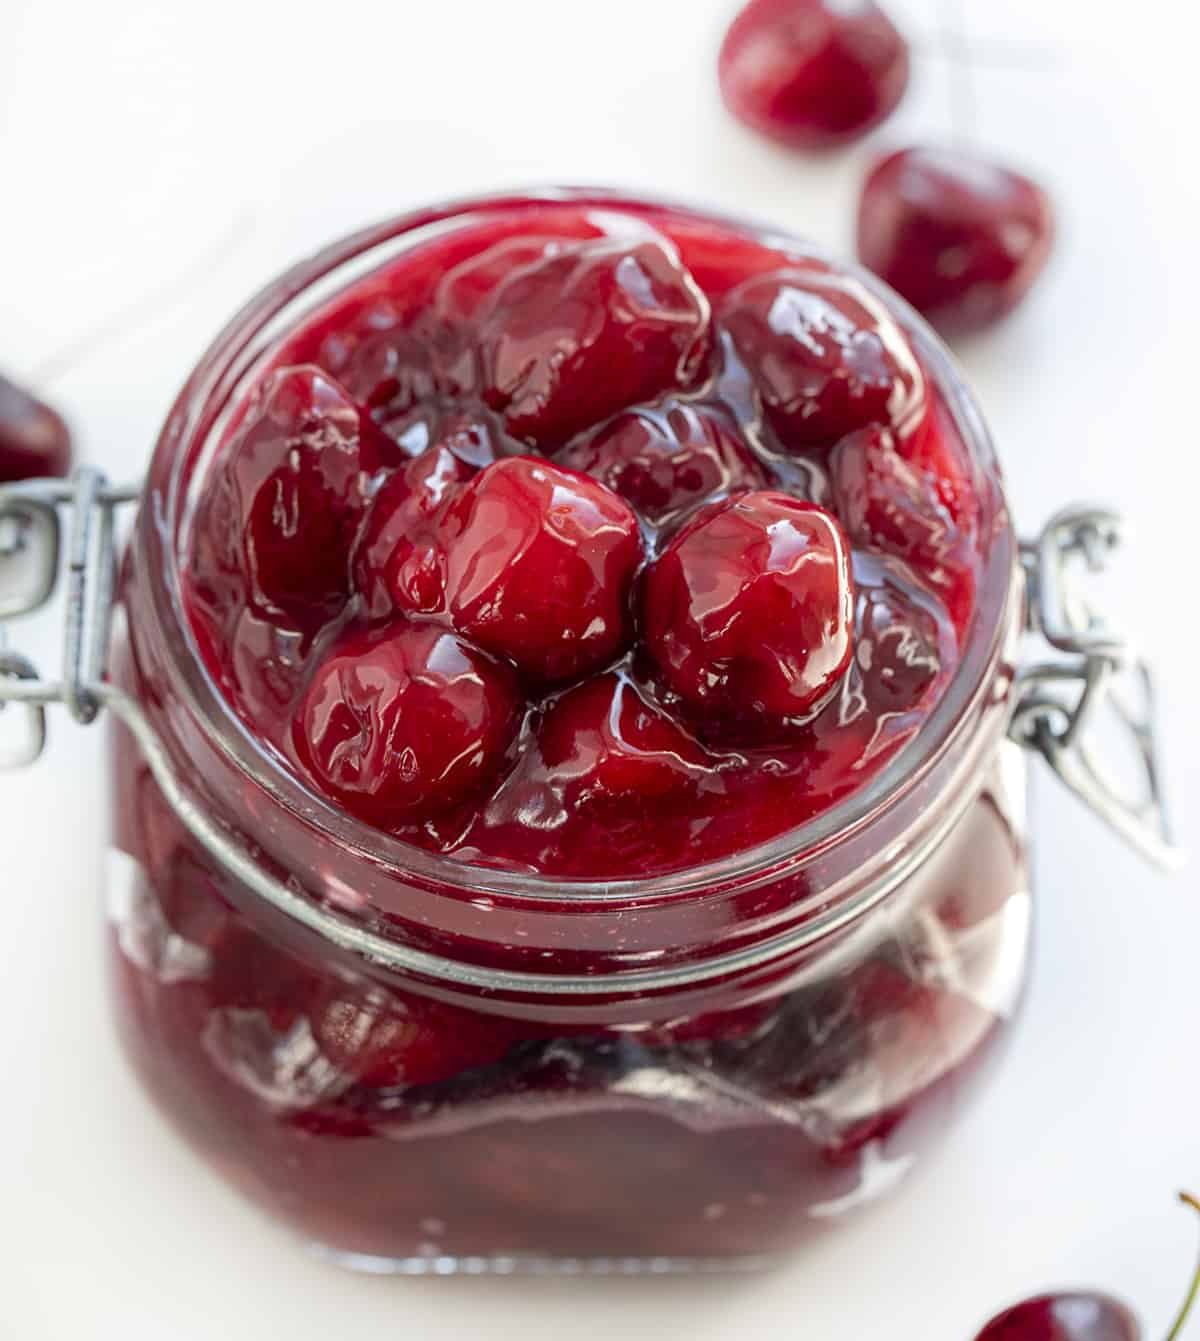
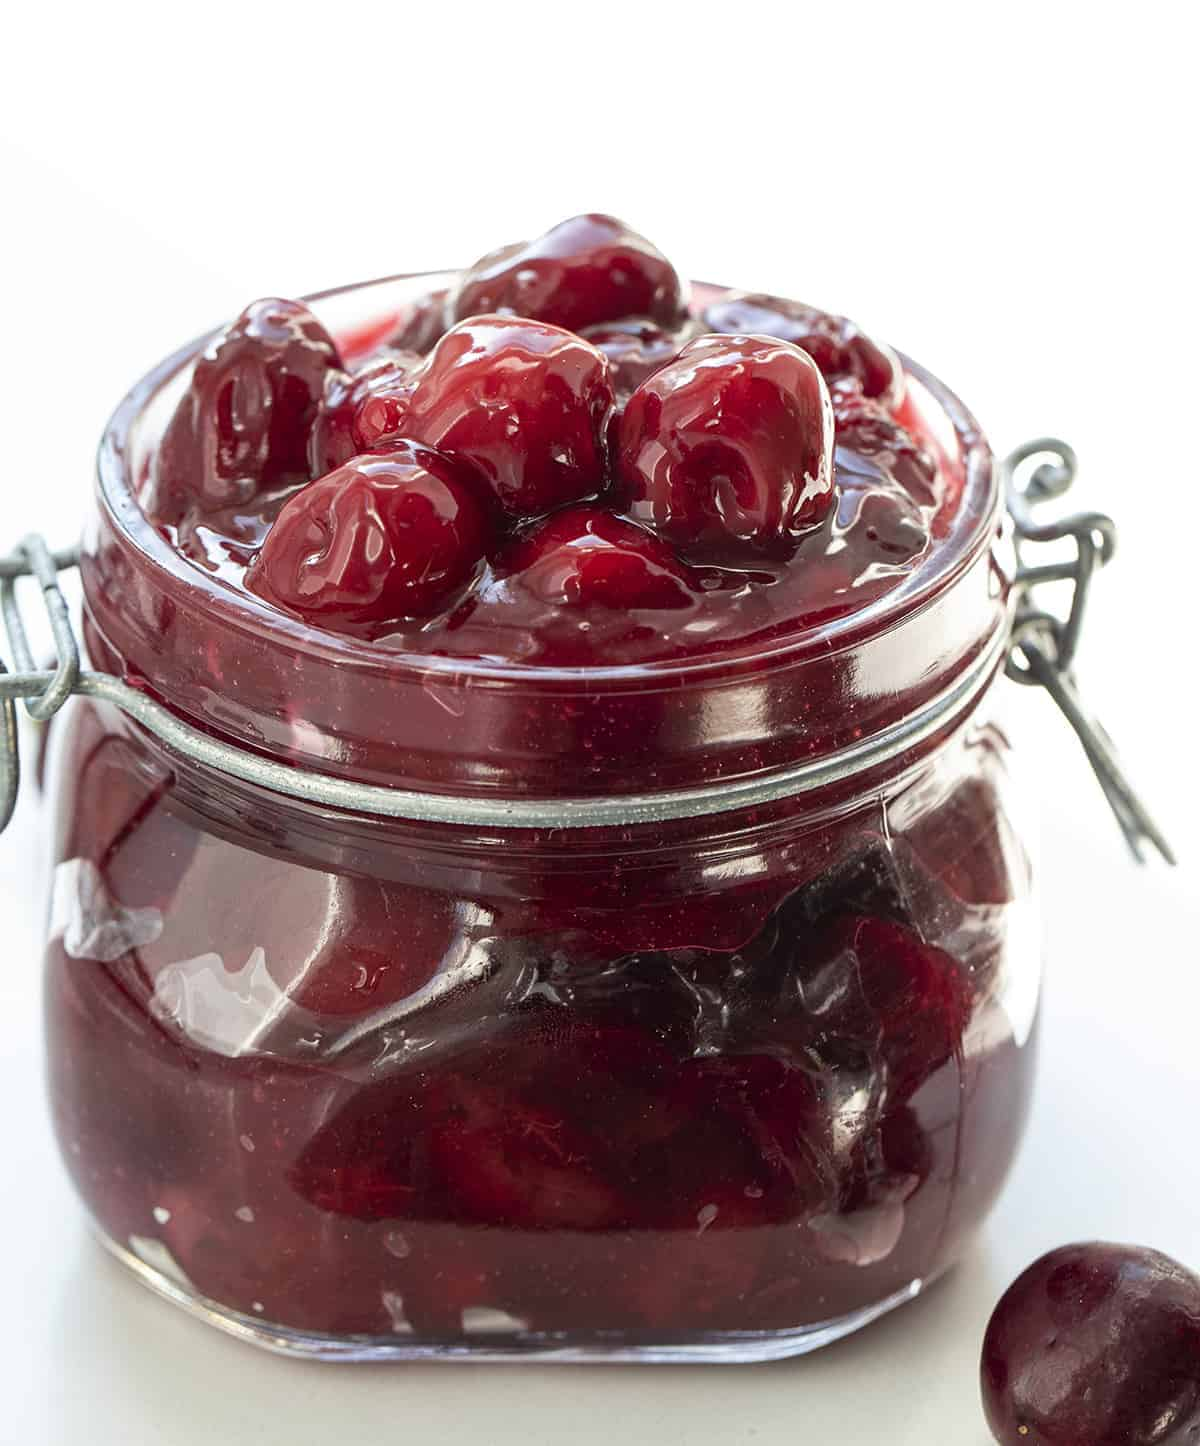
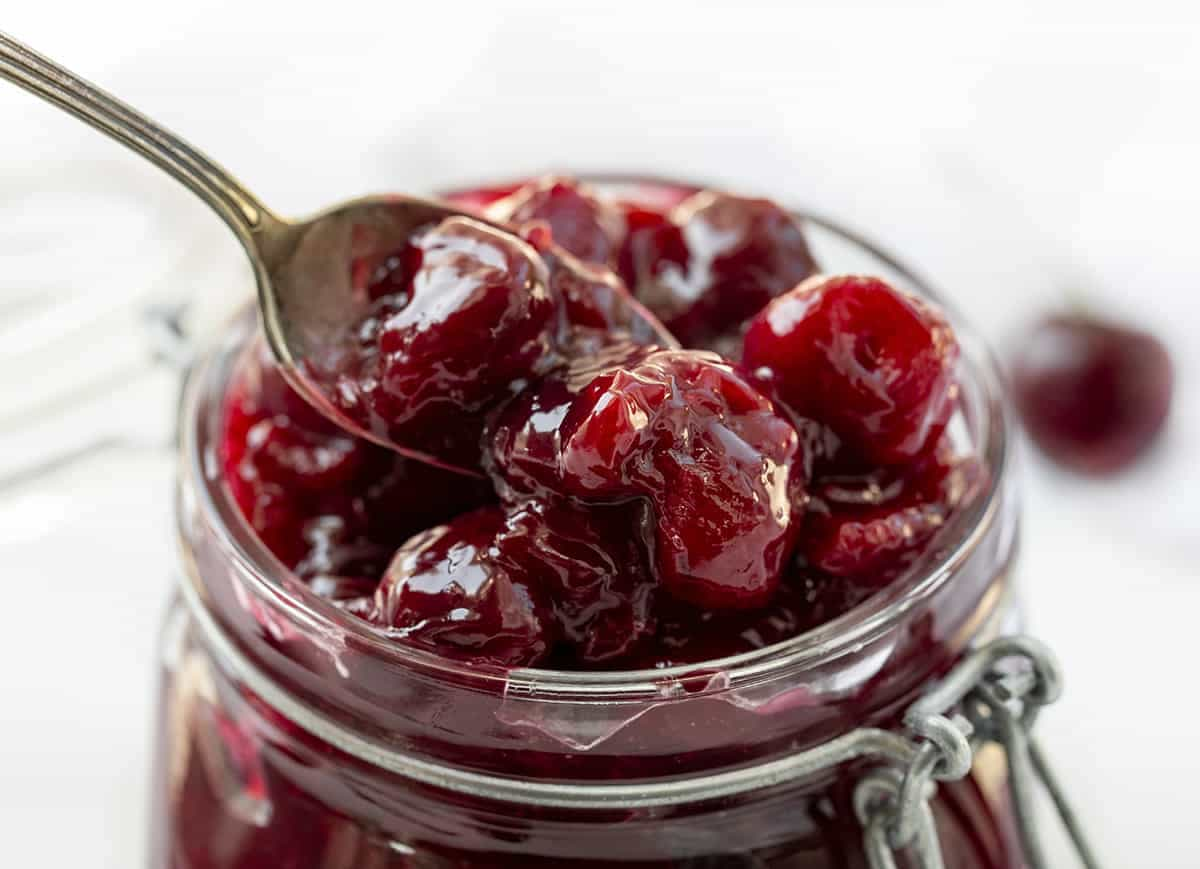
- Remove from heat and allow to cool completely before adding to your favorite dishes or storing. This will make about 28 ounces or about 3 cups of filling.
- Store in the refrigerator for 4 days, or freeze for up to 3 months.
Notes
*I mentioned a prep time of 10 minutes, which is for someone who has pitted cherries before. If you’ve never pitted cherries before, it may take longer.