Grilling season isn’t complete without the delicious flavor and aroma of beer can chicken. If you haven’t tried this fantastic grilled recipe yet, today is the perfect day to enjoy this juicy and perfectly seasoned chicken! For more grilling recipes, don’t forget to check out my Tropical Chicken Skewers as well.
The Joy of Grilling Season
As soon as the weather allows, we fire up the grill and enjoy non-stop outdoor cooking. While we love staples like classic grilled cheeseburgers, we also enjoy experimenting with recipes like Surf and Turf Kebabs with Chimichurri Sauce. To keep our grilling menu exciting, we decided to try our hand at beer can chicken, and it did not disappoint!
Beer Can Chicken Explained
This recipe might seem a bit complicated, but it’s actually quite simple. You’ll need a whole 5-pound (2.3 kg) chicken, some beer, a bit of oil, and a variety of spices.
What is the Purpose of the Beer?
The beer adds moisture during the grilling process. The steam from the beer (which is why the can should be half full) adds moisture to the chicken’s inner cavity. This steam also infuses flavor and helps cook the chicken evenly as the fat drains away.
Does the Type of Beer Matter?
Use a beer that you enjoy drinking. The flavor will subtly affect the chicken, but it’s minimal, so there’s no need to splurge on expensive beer. Use what you have on hand.
How to Make Beer Can Chicken
Preparation:
- Preheat the Grill: Preheat your grill with all burners set to medium-high heat. You will turn off one burner just before cooking.
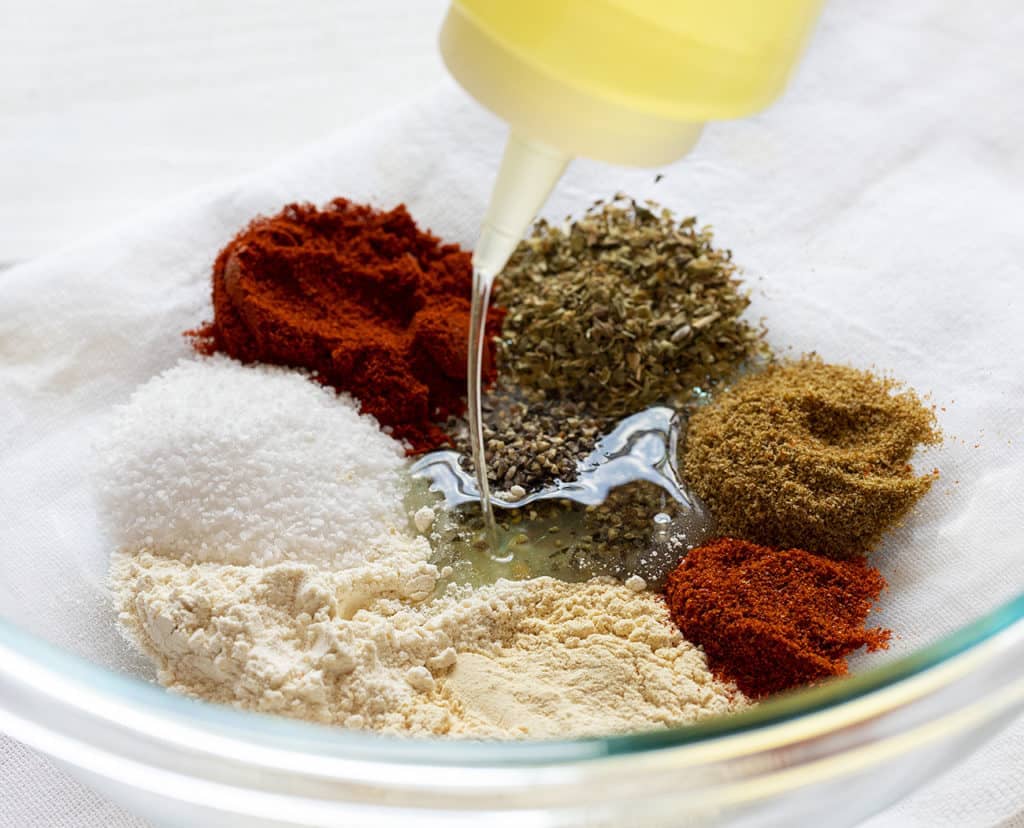
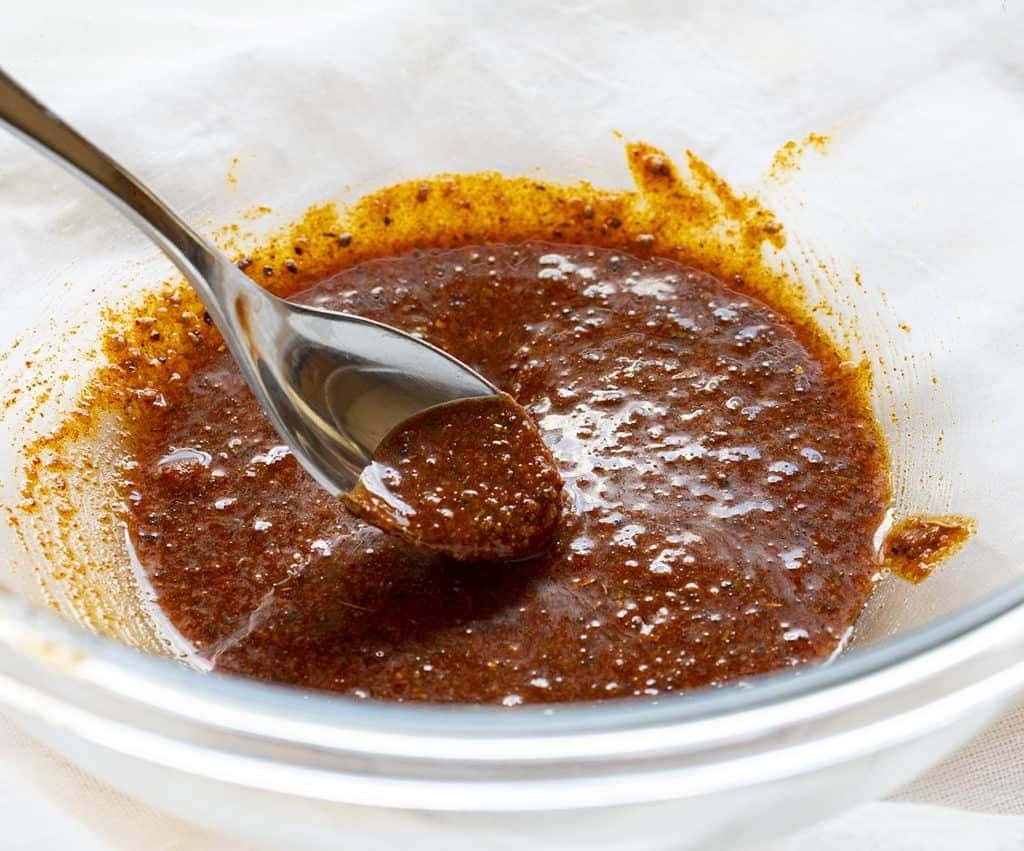
- Spice Rub: Combine all your spices in a bowl, then add the oil and mix to create a rub. Pat the chicken dry and coat it thoroughly with the spice rub, both on the skin and inside the cavity.
Setting Up:
- Prepare the Beer Can: Open the beer can and remove half the contents (either by drinking it or discarding it). Place the can upright in the center of a disposable pan.
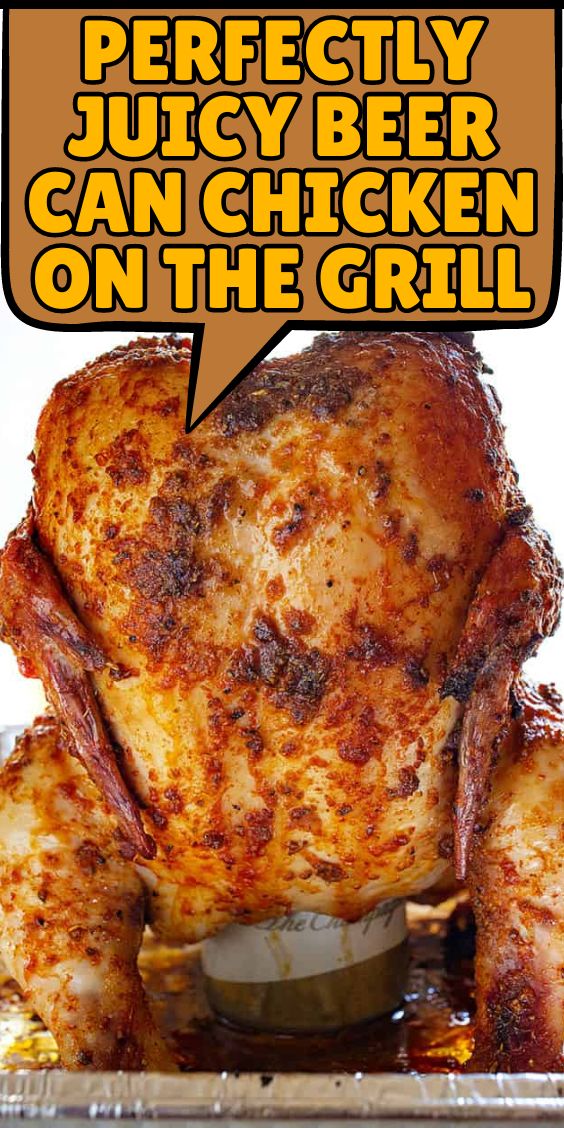
- Mount the Chicken: Lower the chicken onto the beer can so that it stands upright.
Grilling:
- Position the Chicken: Reduce the grill heat to medium and turn off one burner for indirect heat cooking. Place the pan with the chicken over the off burner.
- Cooking Time: Close the grill lid and maintain a temperature of 325-350°F (165-175°C). Cook without opening the lid for about 45 minutes.
- Check Temperature: After 1 hour and 15 minutes, check the internal temperature of the chicken using a thermometer.
- The thickest part should read 165°F (74°C).
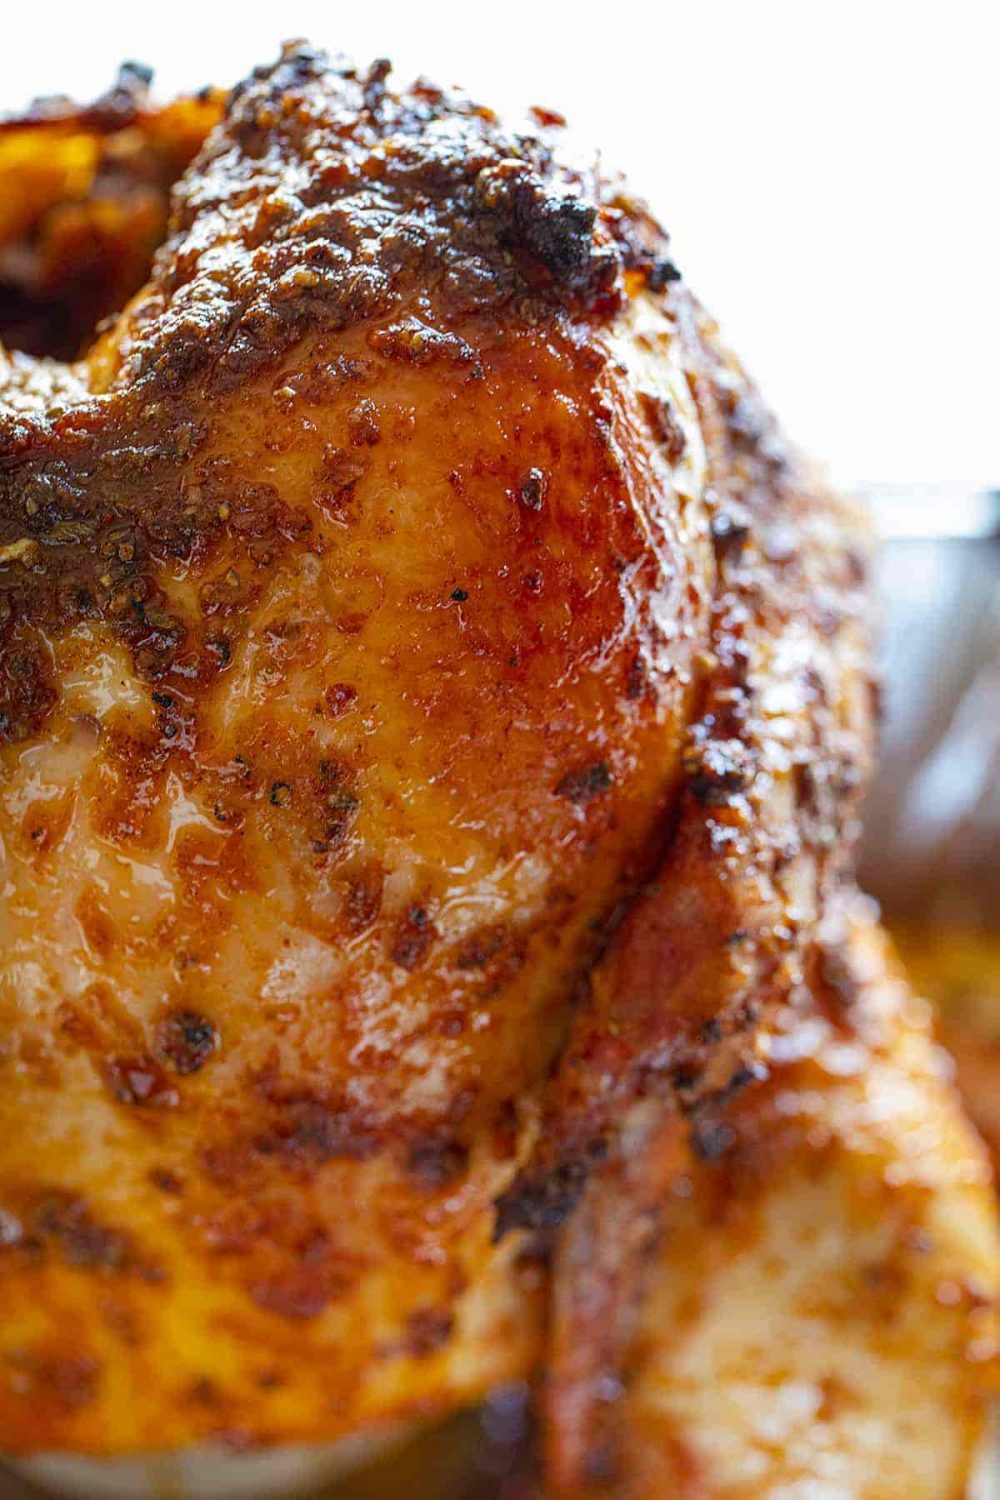
- Crisp the Skin: Turn the grill burners to high and cook for an additional 10 minutes to crisp the skin.
Serving:
- Remove Carefully: Using oven mitts, carefully remove the pan from the grill without spilling any juices. Let the chicken rest for 10 minutes before removing it from the can.
- Serve: Use oven mitts or a kitchen towel to hold the can steady and carefully lift the chicken off. Cut into pieces and serve immediately.
Tools Needed to Make Beer Can Chicken
No fancy tools are required for this recipe, just a disposable pan and a half-empty can of beer. However, a beer can chicken holder can provide extra stability if you plan to make this dish regularly.
Equipment:
8×10 inch (20×25 cm) disposable pan
Ingredients:
- Spice Rub:
- 1 can beer, half-full, room temperature
- 5 pounds (2.3 kg) whole chicken, neck and giblets removed
- 2 tablespoons vegetable oil
- 1 teaspoon cumin
- 2 teaspoons garlic powder
- 2 teaspoons onion powder
- 2 teaspoons kosher salt
- 1 teaspoon paprika
- 1 teaspoon oregano
- 1 teaspoon cayenne pepper
- ½ teaspoon ground black pepper
Instructions:
Preparation:
- Preheat gas grill to medium-high heat.
- Pat chicken dry with paper towels.
- In a small bowl, combine oil, cumin, garlic powder, onion powder, kosher salt, paprika, oregano, cayenne pepper, and black pepper. Thoroughly coat the outside and inside cavity of the chicken.
- Place half-full beer can (opened) into the disposable pan.
- Lower chicken onto beer can so that the chicken is sitting upright.
Grilling:
- Turn off one grill burner and place the chicken over this area for indirect cooking.
- Reduce the grill heat to medium and maintain a temperature of 325° to 350° F (165° to 175° C).
- Allow the chicken to cook with the lid closed. (Do not open the lid for at least the first 45 minutes while the chicken is cooking.)
- At 1 hour and 15 minutes, use a thermometer to check the temperature. Insert the thermometer into the thickest part of the chicken, without touching the bone. The thermometer should read 165° F (74° C).
- Turn the grill heat up to high and allow the chicken to crisp for 10 minutes longer.
- Carefully transfer the chicken out of the grill and allow it to rest for 10 minutes.
- Carefully lift the chicken off the beer can.
- Cut the chicken into pieces and serve immediately.
Notes:
- To Store the Rub: Combine all seasonings in an airtight jar. Store away from heat or light for up to six months.
- To Store Leftovers: Leftover chicken can be stored in the refrigerator for up to 3-4 days in an airtight container. Best if wrapped tightly in plastic wrap.
Enjoy your delicious Beer Can Chicken, a perfect addition to your grilling repertoire!


