Discover the unparalleled joy of creating Homemade Marshmallows, a delightful endeavor that surpasses any store-bought counterparts. This recipe allows you the freedom to customize the size and shape of your marshmallows, making each batch a unique and personal masterpiece.

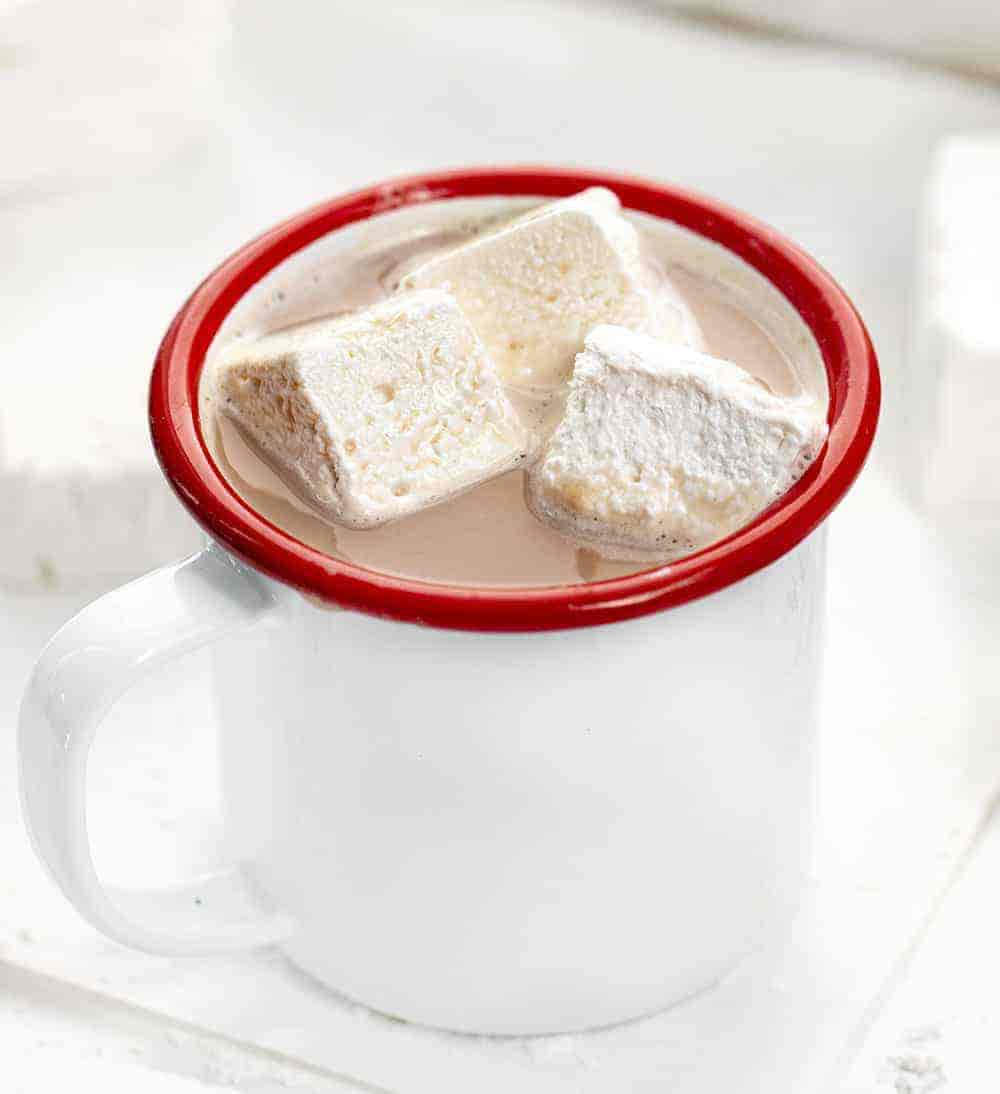
Not only do these homemade marshmallows boast a taste that is 100% superior to store-bought varieties, but they also offer a host of other amazing qualities. From seamlessly melting into hot chocolate to allowing creative customization with letter-shaped cookie cutters, the possibilities are endless. Moreover, when stored correctly, these marshmallows have an impressive shelf life.

Ingredients & Substitutions
The anticipation of waiting for the marshmallows to set is the only challenge in this recipe, but the end result is undoubtedly worth it!
- Gelatin: A non-negotiable ingredient, gelatin is essential for this recipe. While some suggest substitutes like arrowroot or xanthan gum, exploring vegan alternatives requires specific research.
- Corn Syrup: This ingredient plays a crucial role, and its inclusion is vital for the success of the recipe.
- Confectioners Sugar and Cornstarch: These ingredients come in handy for coating and preventing the marshmallows from sticking together.
Understanding the Cooling Process
The syrup mixture, after reaching 252°F (122°C) (hardball stage), needs to cool down to 212°F (122°C) (boiling point of water). This cooling process is crucial for two reasons. First, excessively hot syrup can break down the gelatin, resulting in flat and runny marshmallows. Second, if the syrup is too cool, it won’t blend well with the gelatin, leading to a lumpy texture.
Making Marshmallows without a Candy Thermometer
While using a candy thermometer is recommended, it’s possible to make marshmallows without one. It requires some trial and error, but here are tips to help gauge the stages:
- Observe the syrup consistency as it falls off a spoon at 252°F (122°C).
- Look for a thin, hard thread that is brittle and breaks easily. A ball or thick thread indicates the need for additional cooking.
- Once at the hardball stage, let the syrup cool to 212°F (100°C) (about 15-20 minutes) before proceeding.
Storing Marshmallows
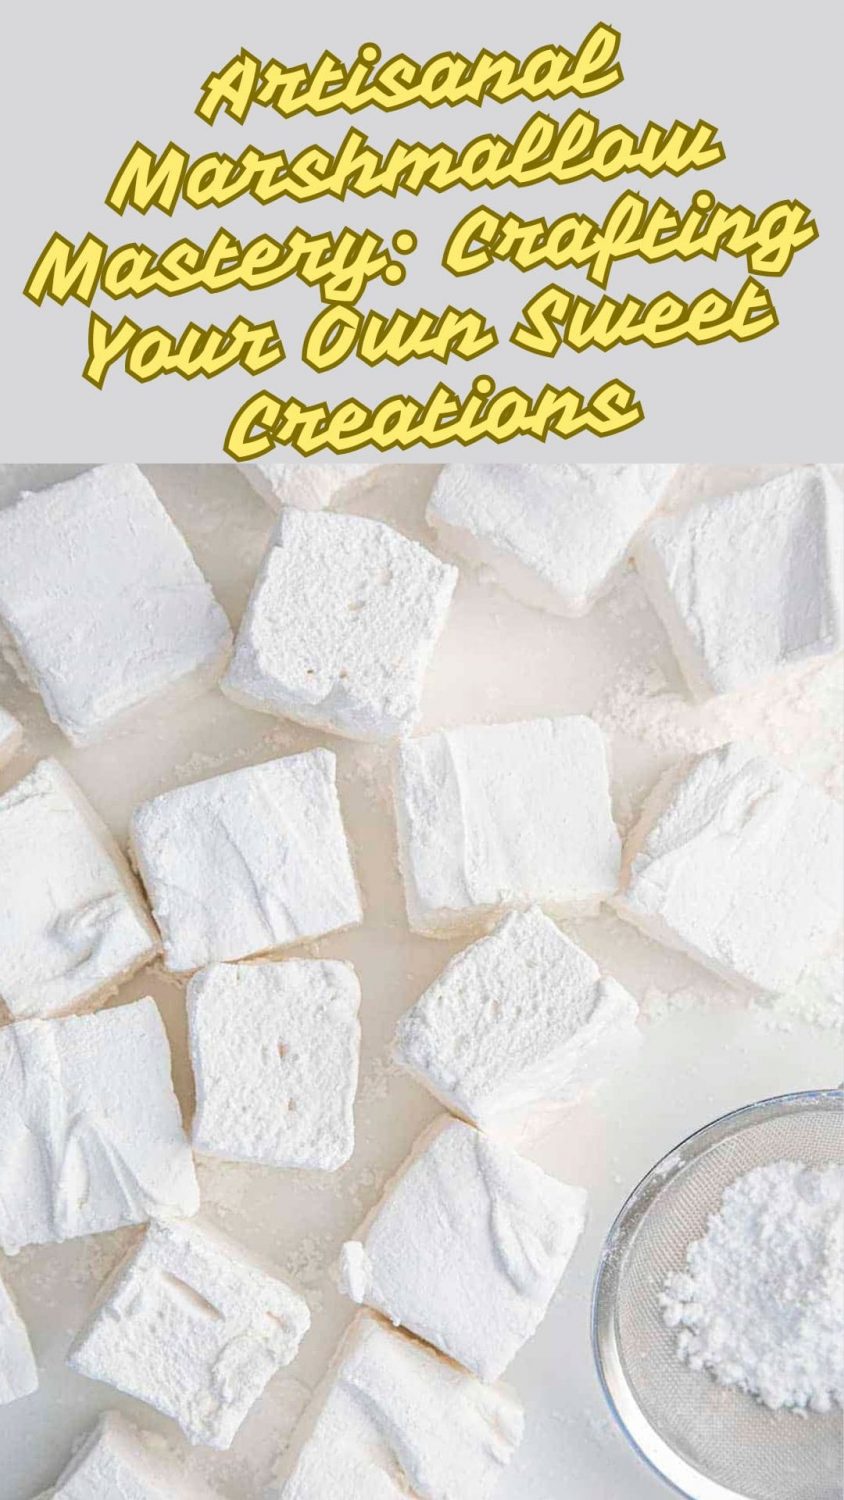
After cutting the marshmallows, prevent them from sticking together by placing them in a clean strainer in the sink. Lightly toss the strainer to ensure all marshmallow edges are coated with the confectioners’ sugar. This method effectively preserves their individuality.

Ingredients
- 5 packages (about ¼ ounces each) gelatin, unflavored
- 1 ¾ cups (415 ml) ice-cold water, divided
- 3 ½ cups (700 g) granulated sugar
- 1 ⅔ cups (568 g) light corn syrup
- 1 teaspoon vanilla extract
Dusting Powder
- ¼ cup (31 g) confectioners’ sugar
- ¼ cup (32 g) cornstarch
Instructions
- In the bowl of a stand mixer, add the gelatin. Pour 1 cup of cold water over the gelatin and whisk it together. Place the bowl on the mixer with the whisk attachment. Allow the gelatin to hydrate and bloom for a few minutes.
- In a large, heavy-bottomed pot over high heat, combine the remaining cold water, sugar, and corn syrup. Cook, stirring until the sugar dissolves. Once dissolved, stop stirring and cook until the mixture reaches 252°F (122°C) (hardball stage).
- Remove the pot from heat. Let the mixture cool to 212°F (100°C).
- Once cooled, pour the sugar mixture into the gelatin mixture, whisking on low speed for about 30 seconds, then increase to high. Whisk for 11-13 minutes until very thick (doubled in size).
- Mix in the vanilla.
Regular Marshmallows
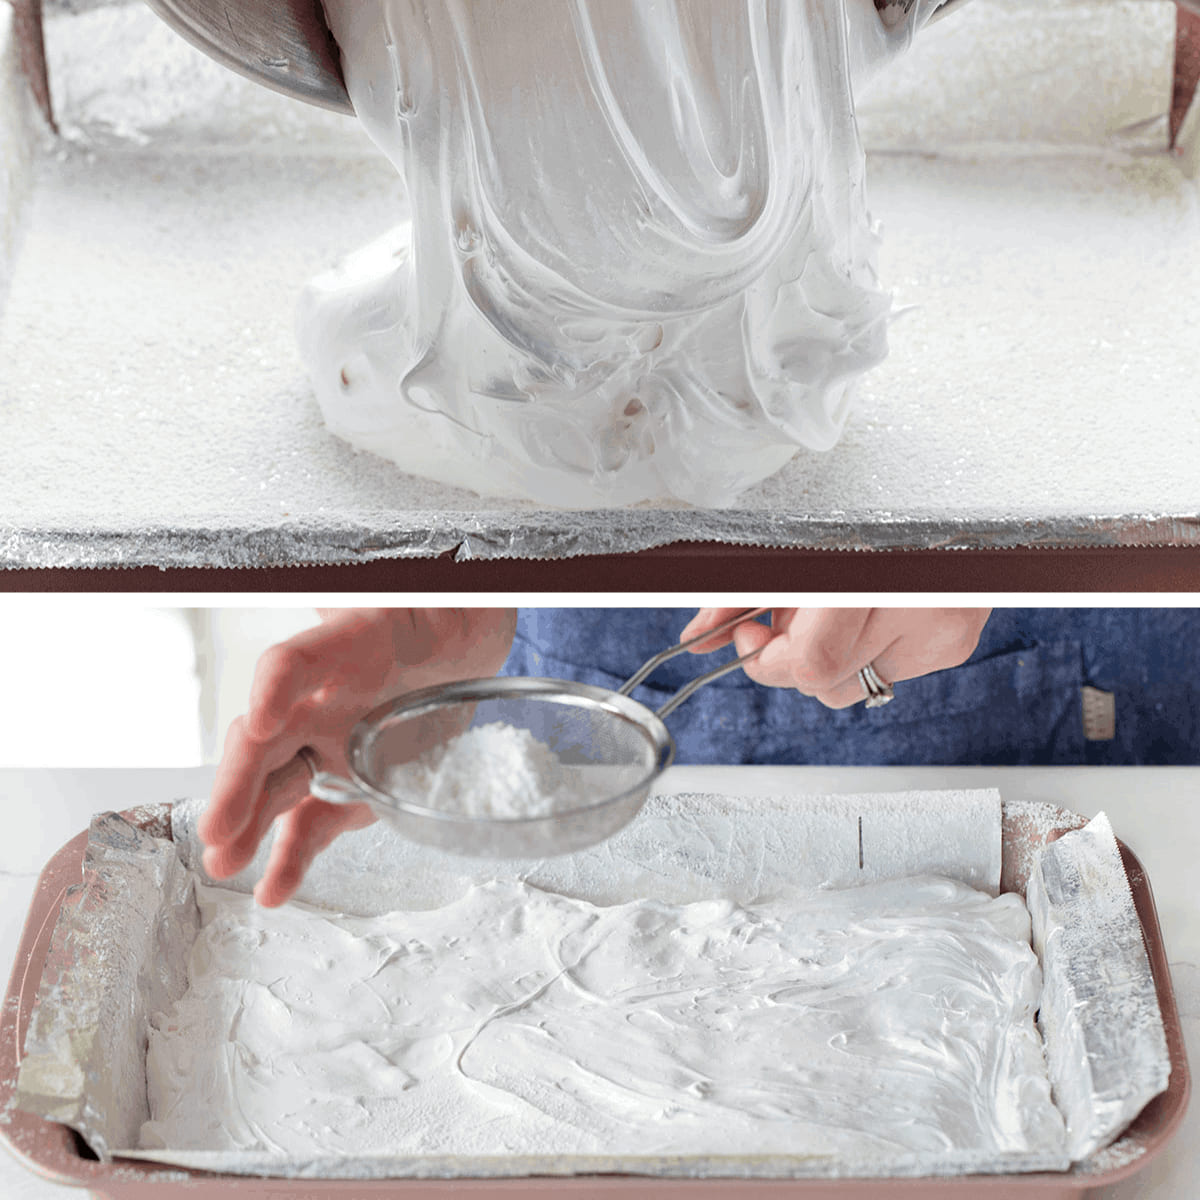
- Line a 9×13-inch (23×33 cm) baking dish with parchment paper and spray with nonstick cooking spray.
- Combine confectioners’ sugar and cornstarch in a small bowl.
- Dust the mixture over the bottom and sides of the pan, reserving some.
- Pour the marshmallow mixture into the prepared dish, spreading it evenly. Sprinkle some sugar and cornstarch mixture over the top.
- Let the marshmallows sit for at least 4 hours or overnight.
- Turn the marshmallows onto a cutting board and cut into desired sizes with a pizza cutter dusted with sugar and cornstarch mixture.
- Dredge each cut marshmallow in confectioners’ sugar. Store in an airtight container at room temperature for up to 3 weeks.
Miniature Marshmallows
- While whisking the marshmallow mixture, combine confectioners’ sugar and cornstarch in a small bowl.
- Line large baking sheets with parchment paper and spray with nonstick cooking spray. Dust with the sugar and cornstarch mixture.
- Fill a piping bag with a ½-inch (1.3cm) round tip with the marshmallow mixture. Pipe long strips onto prepared baking sheets.
- Sprinkle the tops with the sugar and cornstarch mixture. Let them sit for at least 4 hours or overnight.
- After they set, cut each strip into small pieces using a pizza cutter or knife dusted with sugar and cornstarch mixture.
- Dredge each cut marshmallow in the sugar and cornstarch mixture.