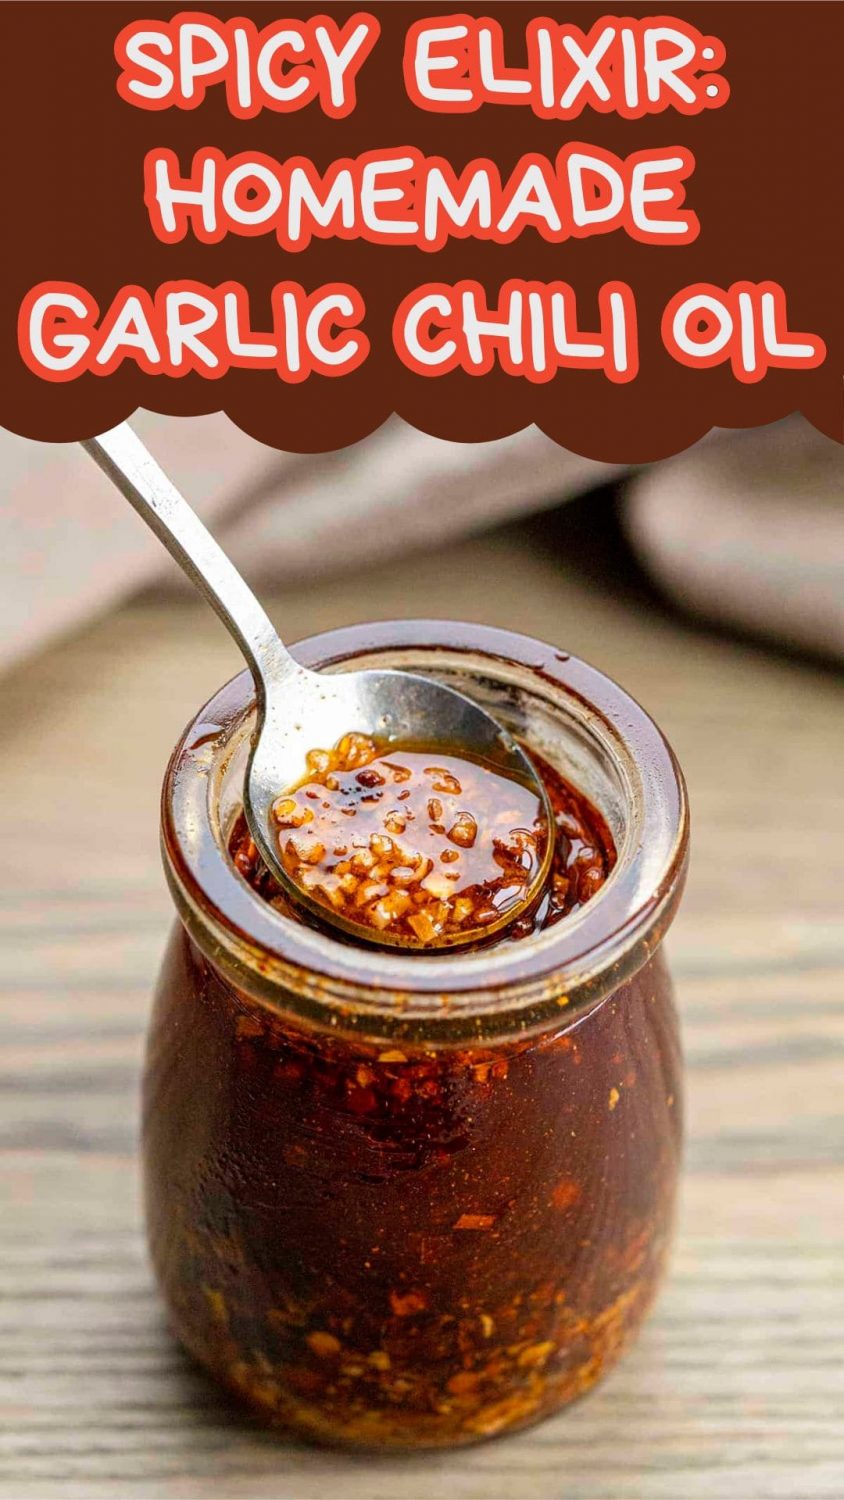
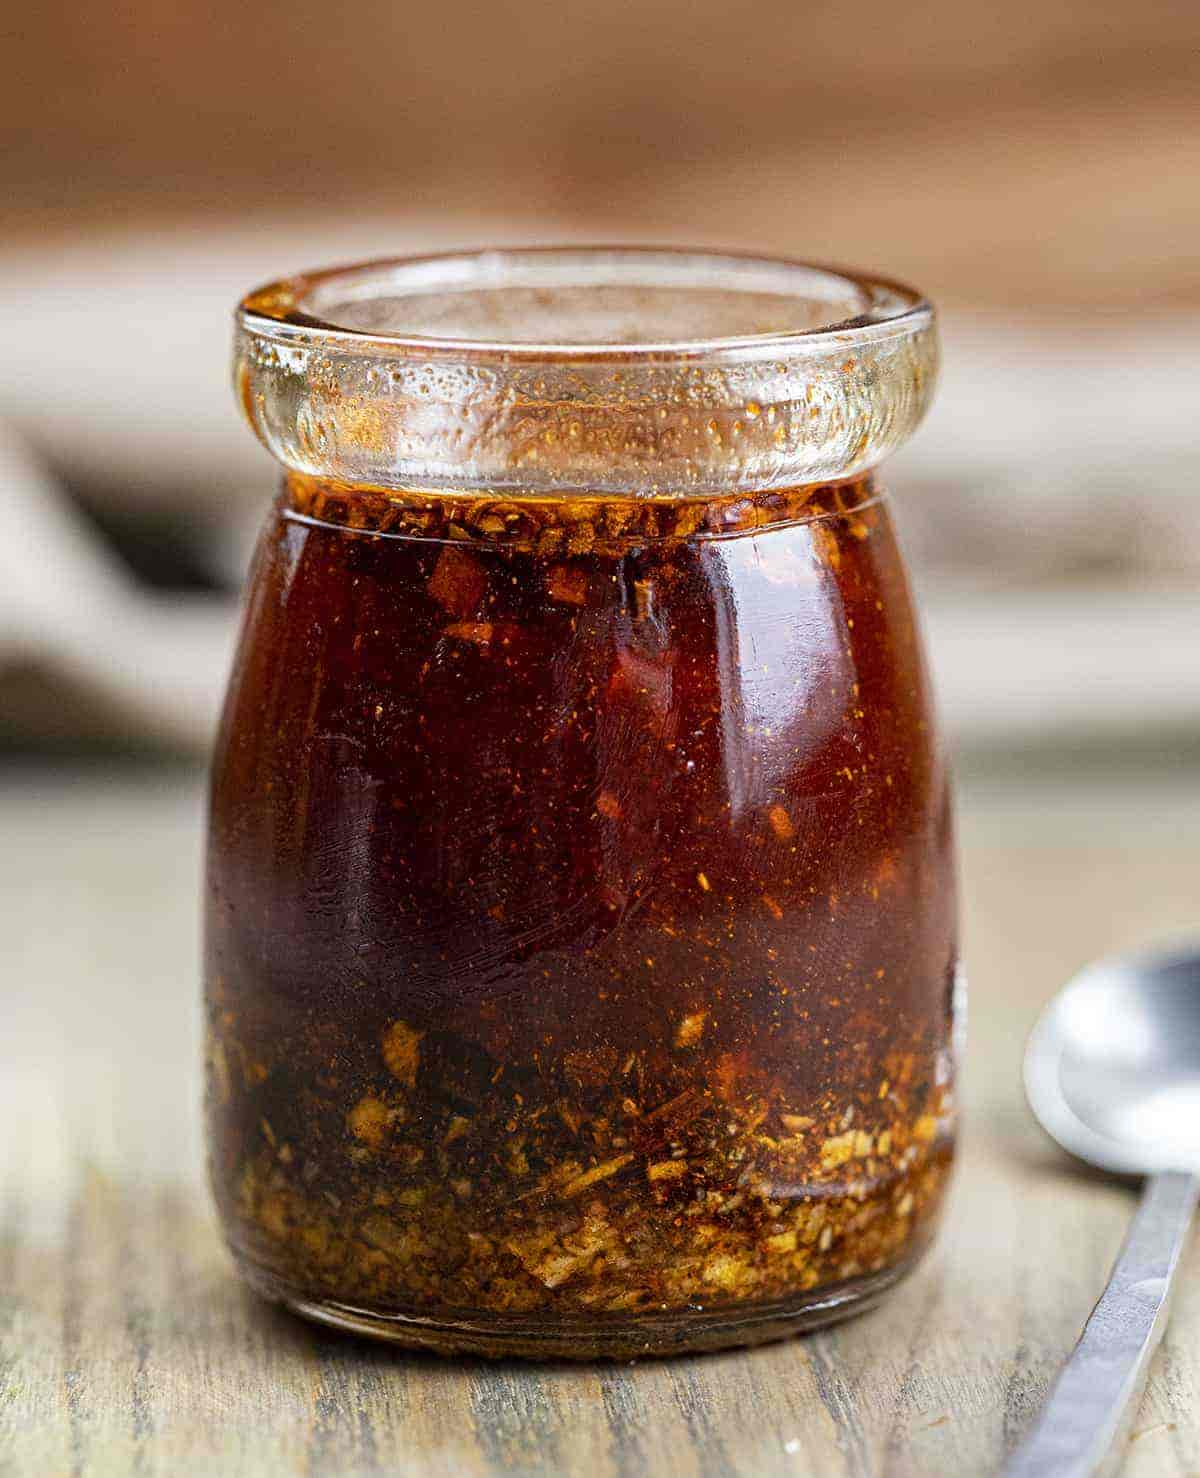
Elevate your culinary creations with the dynamic kick of our homemade Garlic Chili Oil. This versatile condiment effortlessly enhances a myriad of dishes, from salads and pizzas to pasta noodles and beyond. Discover the simplicity of crafting this flavorful oil that adds both heat and depth to your favorite meals.
Dive into the Art of Infusion
The magic lies in the harmonious blend of mixed spices infused with oil that’s been seasoned with sautéed shallots and garlic. The result? A tantalizing condiment that not only brings the heat but also introduces a rich, savory flavor to your culinary repertoire. Let’s explore the steps to create this aromatic delight.
A Symphony of Ingredients
Crafting the perfect Garlic Chili Oil requires a thoughtful selection of ingredients:
- Oil: Opt for canola or vegetable oil for the base.
- Red Pepper Flakes: Adjust the heat to your liking with a tablespoon of crushed red pepper flakes.
- Salt: A tablespoon of kosher salt enhances the flavors.
- Chilis: Dive into the chili flavors with a combination of chili powder and paprika.
Tips for Achieving Crunchy Perfection
Achieving the ideal texture for your crispy shallots and garlic is crucial:
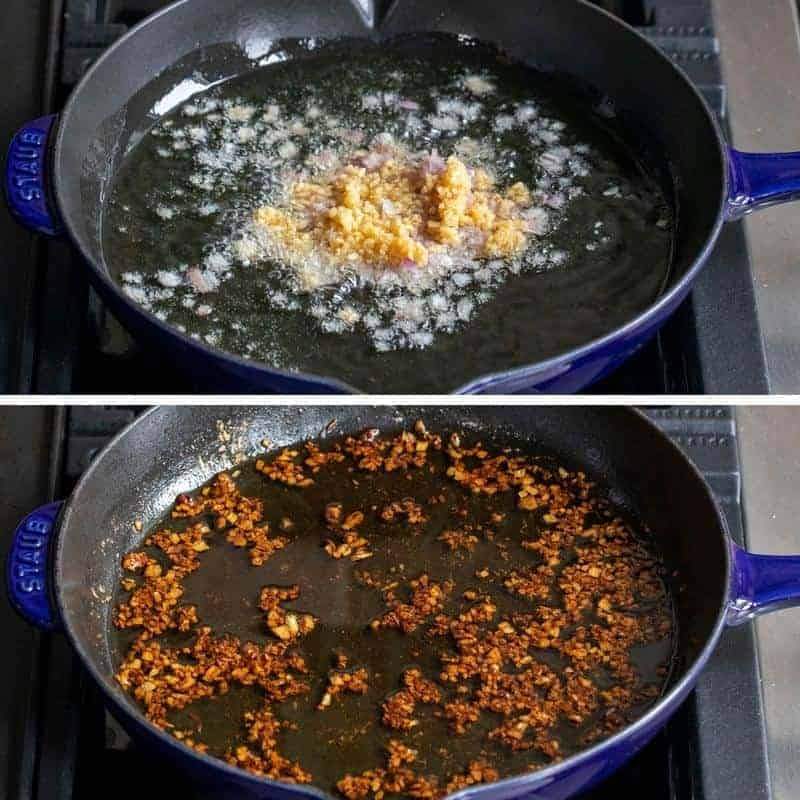
- Avoid Burning: Sauté shallots and garlic in oil for a minute or two, ensuring they turn brown and crispy without burning.
- Draining Technique: When draining the oil into the spice bowl, keep the shallots and garlic elevated to facilitate thorough drainage and allow them to cool and crisp up.
- Cooling Period: Let the shallots and garlic cool for 20-30 minutes before reintroducing them to the oil.
Storage Wisdom
Store your Garlic Chili Oil in a clean jar with a tight-fitting lid. It remains fresh at room temperature in a cool, dark place for a few weeks. Stir well before serving to ensure an even distribution of flavors.
The Art of Straining and Reintegration
Ever wondered why we strain the oil before reintegrating it with the crispy garlic mixture? Here’s the breakdown:
- Flavorful Infusion: Straining allows the aromatic compounds from garlic and shallots to infuse the oil with flavor, enriching the overall profile of the chili oil.
- Textural Control: Separating crispy bits from oil ensures they maintain their desired texture, preventing sogginess.
- Temperature Harmony: Allowing the garlic mixture to cool before reintroduction preserves flavors and prevents overcooking, maintaining the integrity of your chili oil.

Ingredients for Culinary Bliss:
Oil Mixture
- 1 cup (240 ml) canola oil
- 1 medium shallot, finely diced (about 2 tablespoons)
- 4 teaspoons garlic, minced
Seasoning Mixture
- 3 tablespoons dried minced onion
- 1 tablespoon red pepper flakes, or more for a spicier oil
- 1 tablespoon kosher salt
- 1 tablespoon chili powder
- 2 teaspoons paprika
Crafting Culinary Magic: Step-by-Step Instructions
- Heat oil in a medium skillet over medium-high heat. Add shallots and garlic. Once bubbling, reduce heat to medium-low.
- Cook shallots and garlic for 20-25 minutes until golden brown and crispy, stirring occasionally.
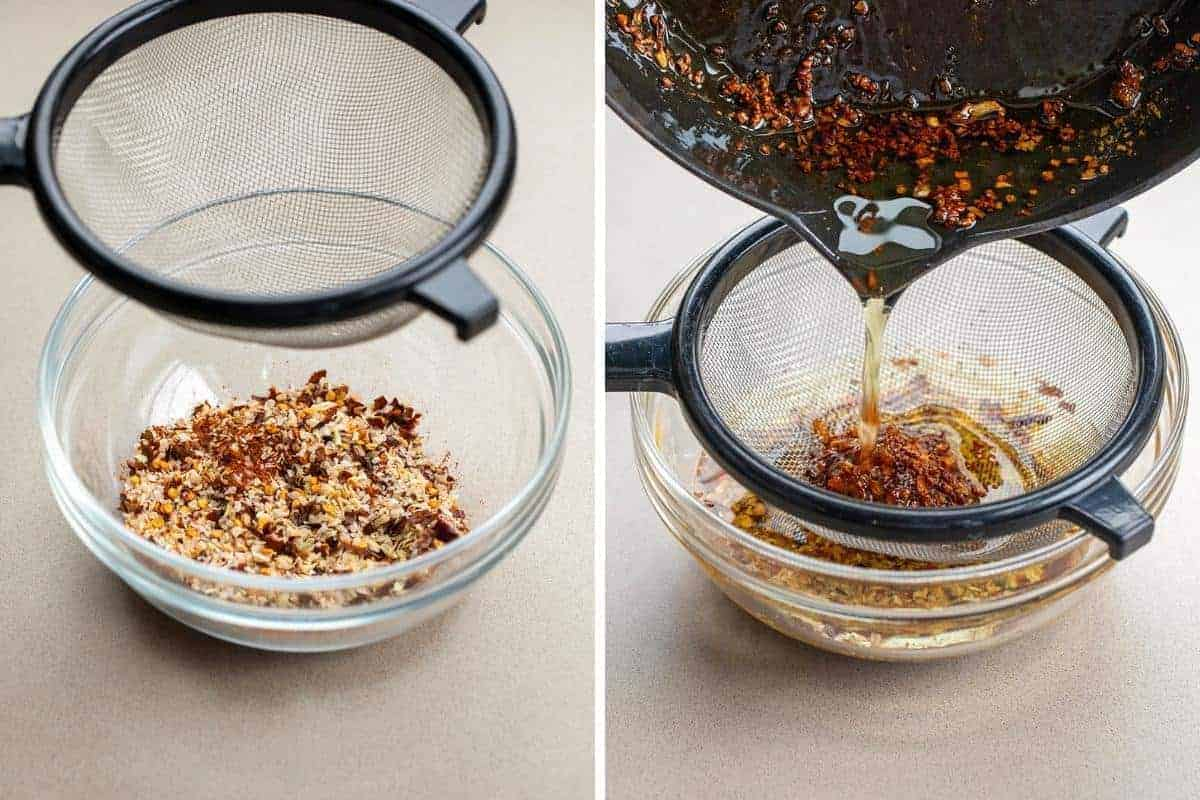
- In a small bowl, combine minced onion, red pepper, kosher salt, chili powder, and paprika to create the seasoning mixture.
- Place a fine-mesh strainer over the bowl and pour the hot garlic mixture into the strainer, letting the oil drain into the seasonings. Leave the hot shallots and garlic in the strainer to cool.
- Once cooled (after 20-30 minutes), add the garlic and shallots to the oil mixture and stir.
- Transfer chili oil to a clean jar with a tight-fitting lid. Store at room temperature in a cool, dark place for up to a few weeks. Stir well before serving.