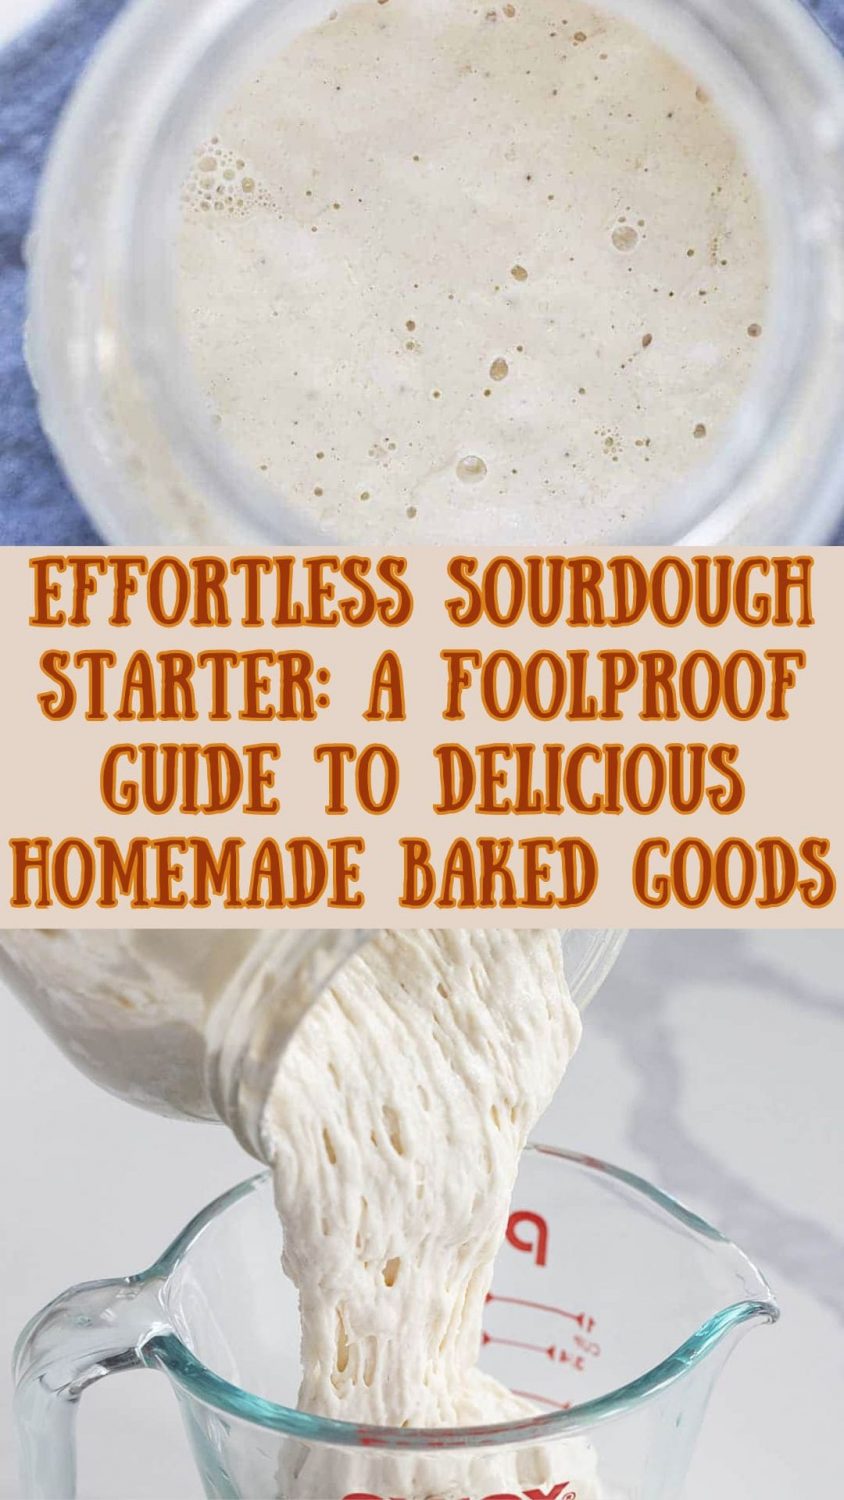
Creating your own Sourdough Starter at home doesn’t have to be a daunting task. In fact, it’s a straightforward process that yields delicious results in your homemade baked goods. While many experts have their own methods, I’ve experimented and refined a simple approach that requires only two ingredients: flour and water. Follow along with these step-by-step instructions to embark on your sourdough journey with ease.
Sourdough Starter Essentials
Before diving into the process, gather the following materials and ingredients:
- Jar & Lid: Opt for glass over metal or plastic, and if a lid isn’t available, a paper towel secured with a rubber band works well. A quart-sized (32 ounces) jar is ideal.
- Flour: Choose organic unbleached all-purpose flour, whole-wheat, bread flour, or even try rye flour.
- Water: Purified water is best. If using chlorinated tap water, let it sit uncovered for 24 hours to allow the chlorine to evaporate.
How to Make a Sourdough Starter
Remember these measurements: 1/2 cup of flour and 1/4-1/3 cup of water. These will be your constants throughout the entire process.
- Initial Mix: In a jar, combine the flour and water, stirring well with a non-metal spoon. Cover the jar loosely with a paper towel and rubber band, or with a lid that’s not completely sealed. Let it sit in a warm place (70°F is optimal) for 24 hours.
- Feeding the Starter: The term ‘feeding’ simply means adding the same measurements of flour and water to the mixture to keep the microorganisms active.

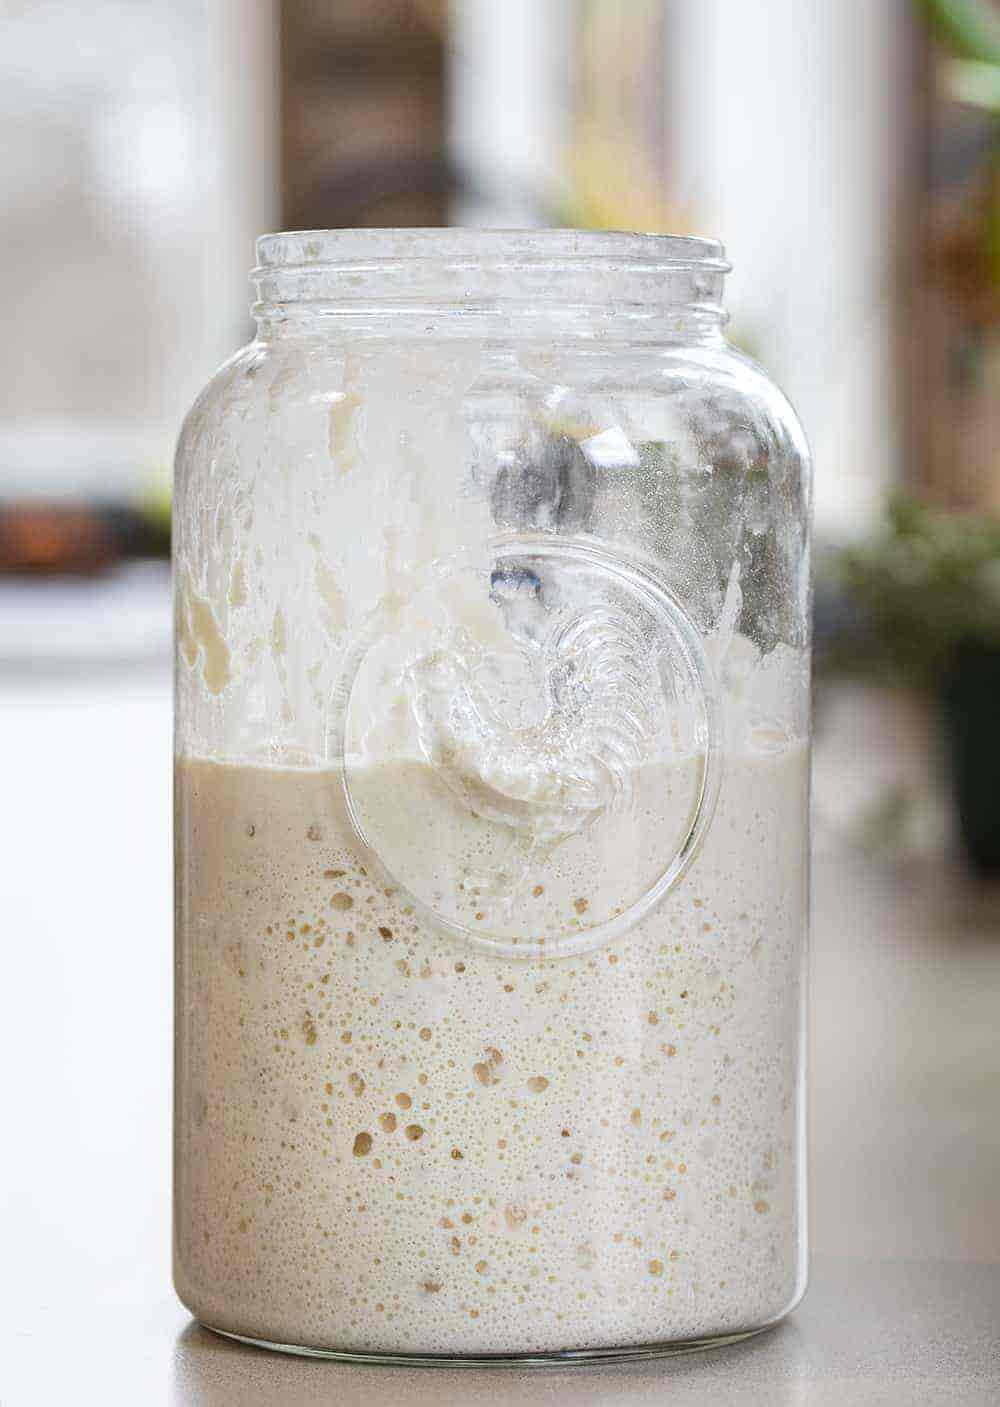
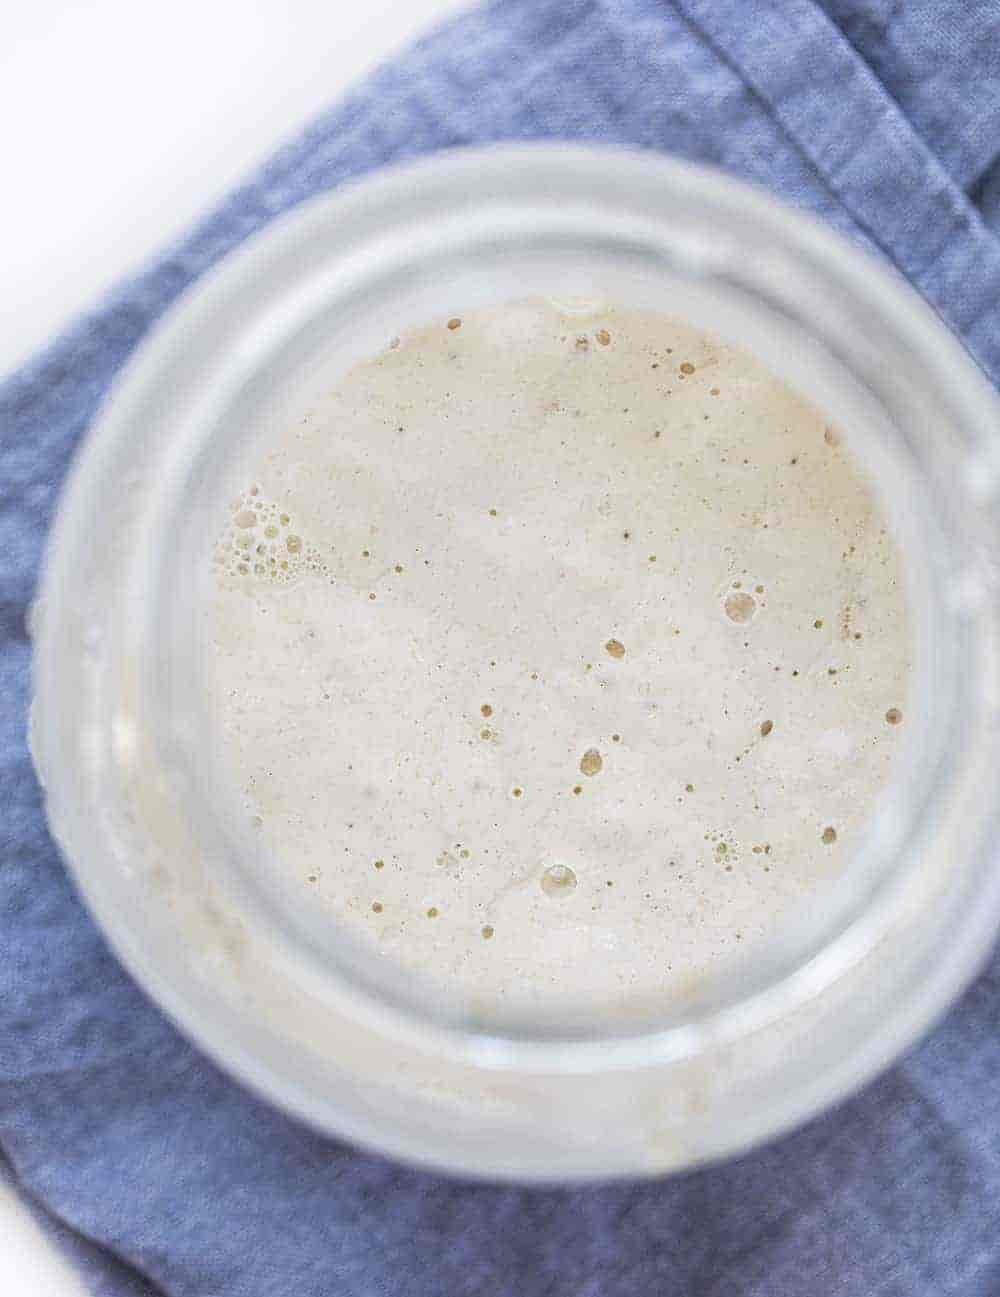
Day 2: Check for bubbles. If present, add flour and water, stir, and let it sit for the next 24 hours. If no bubbles, wait another day before the first feeding.
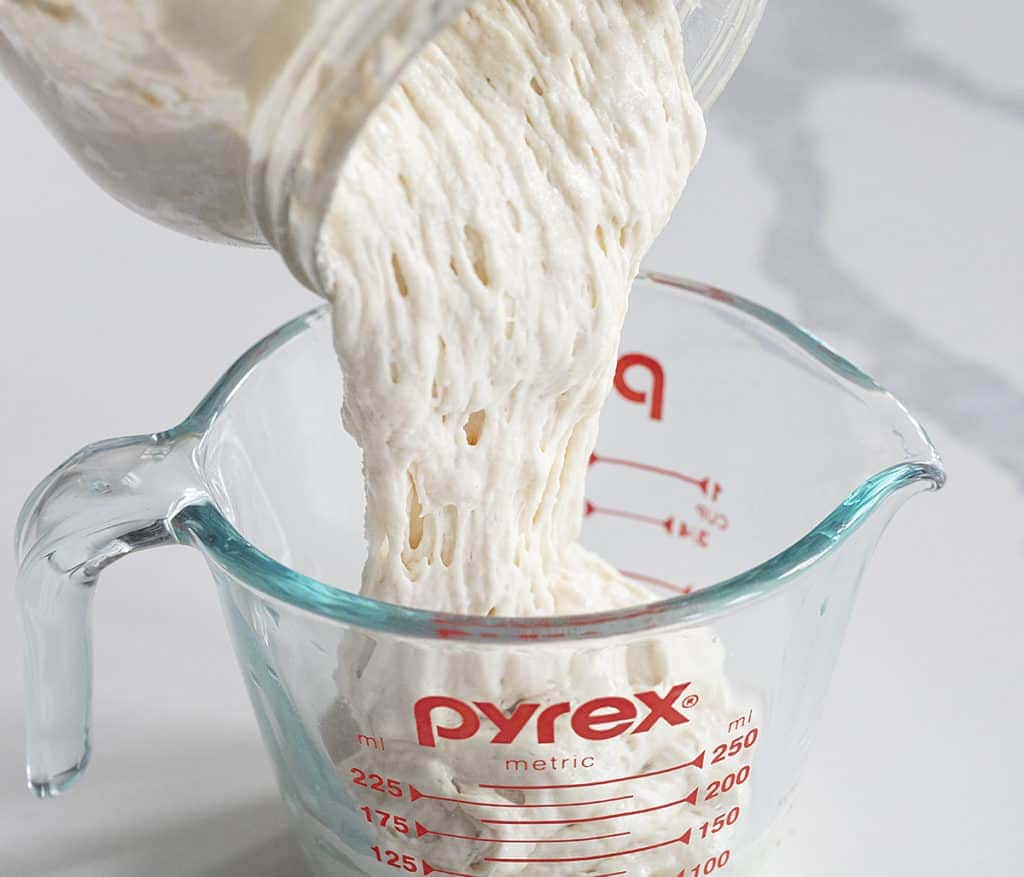
Day 3: If bubbles are visible, remove half of the starter, add flour and water, stir thoroughly, and let sit for 24 hours. Don’t discard the removed starter; it can be repurposed.
Third Feeding: Repeat the process, removing half of the starter, and feeding with flour and water. Let it sit for 24 hours.
Days 4-6: Feed the starter twice a day, discarding before each feeding, until it consistently bubbles and doubles in size within 8 hours.
Storing Your Sourdough Starter
Once your starter is robust and active, store it in the refrigerator, feeding it about once a week. When planning to use it, take it out 24 hours in advance to feed, allowing it to warm up and grow.
Remember, sourdough starters improve with age, so there’s no rush to use it immediately. However, if it develops off-putting colors or smells, it’s time to start anew.

Flour Variety in Sourdough Starters
You can use various grain-based flours in your starter, including:
- Rye
- Bread Flour
- Rice
- Whole Wheat
- Einkorn
- Sourdough Starter Recipe
Ingredients:
- 1/2 cup flour, whole wheat or unbleached all-purpose
- 1/4-1/3 cup water* (75°F is ideal)
- 1 glass jar or bowl (about 32 ounces)
- 1 paper towel
- 1 rubber band
Instructions:
TO BEGIN
Start by adding 1/2 cup whole wheat flour and 1/4 cup water to the jar. Add up to 1/4 cup more flour if needed to reach a pancake batter consistency.
THE FIRST FEEDING
Stir thoroughly, cover with a towel and rubber band, and let it sit for 24 hours at room temperature.
After 24 hours, check for bubbles. If present, add 1/2 cup all-purpose flour and 1/4-1/3 cup water. If no bubbles, stir and let sit for an additional 24 hours.
THE SECOND FEEDING
Check for bubbles again. If visible, remove half of the starter, add 1/2 cup all-purpose flour, and 1/4-1/3 cup water. Stir thoroughly and let sit for 24 hours.
THE THIRD FEEDING
Remove half of the starter, and feed with 1/2 cup all-purpose flour and 1/4 cup water, stirring thoroughly. Let it sit for 24 hours.
ADDITIONAL FEEDINGS
On days 4-6, feed it twice a day if desired. Continue until the starter consistently bubbles and doubles in size within 8 hours of each feeding.
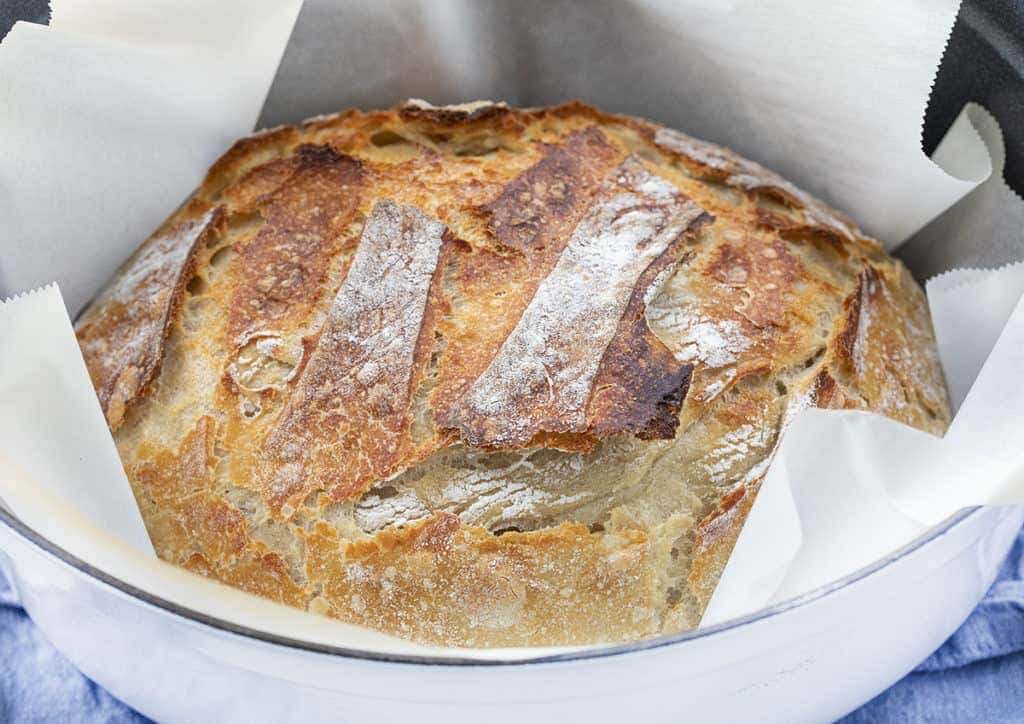
From this point (or even on day 5), store the starter in the refrigerator and feed it about once per week. Before use, pull it out 24 hours in advance to feed and allow it to warm up and grow. Enjoy your perfect Sourdough Bread!