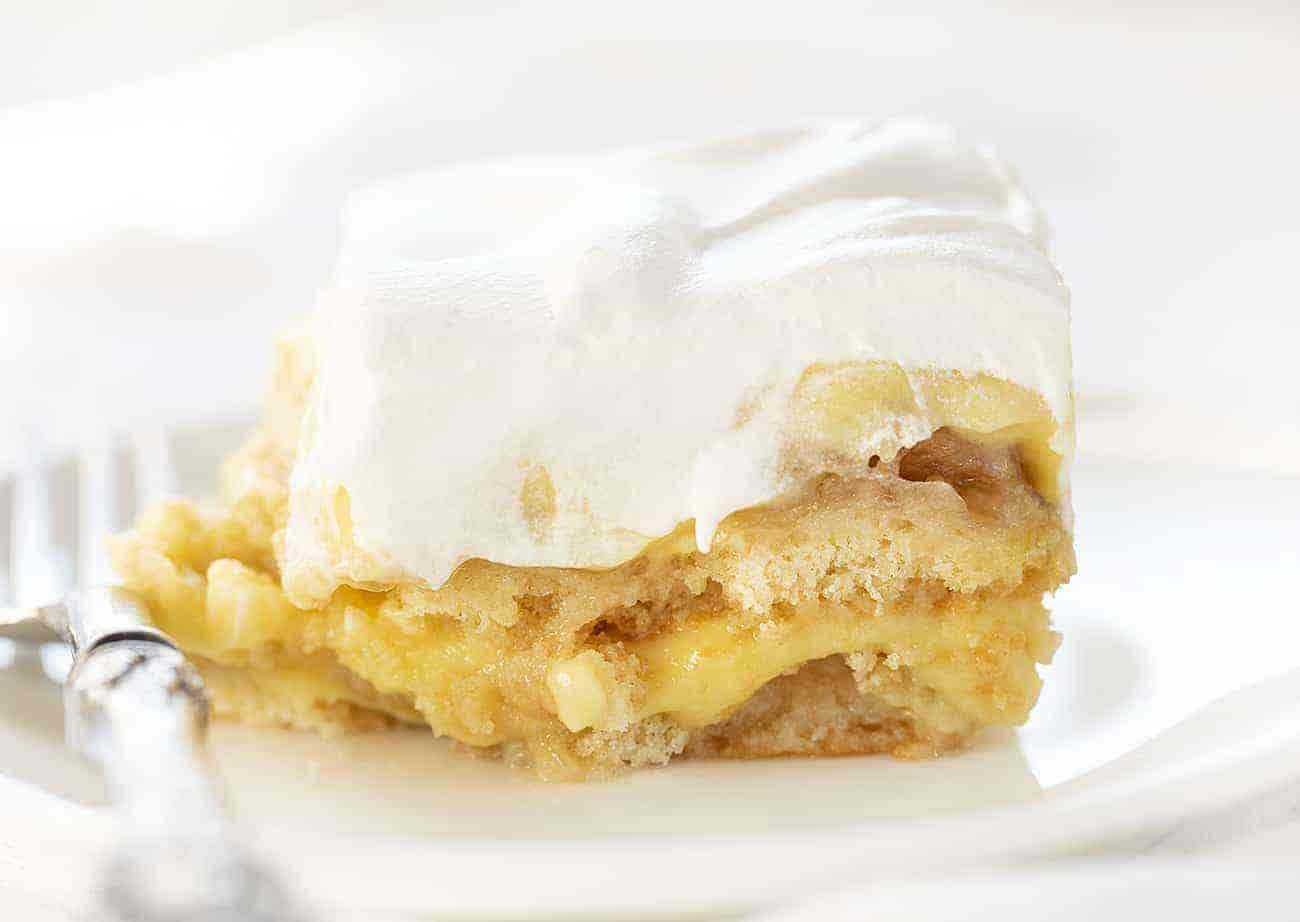
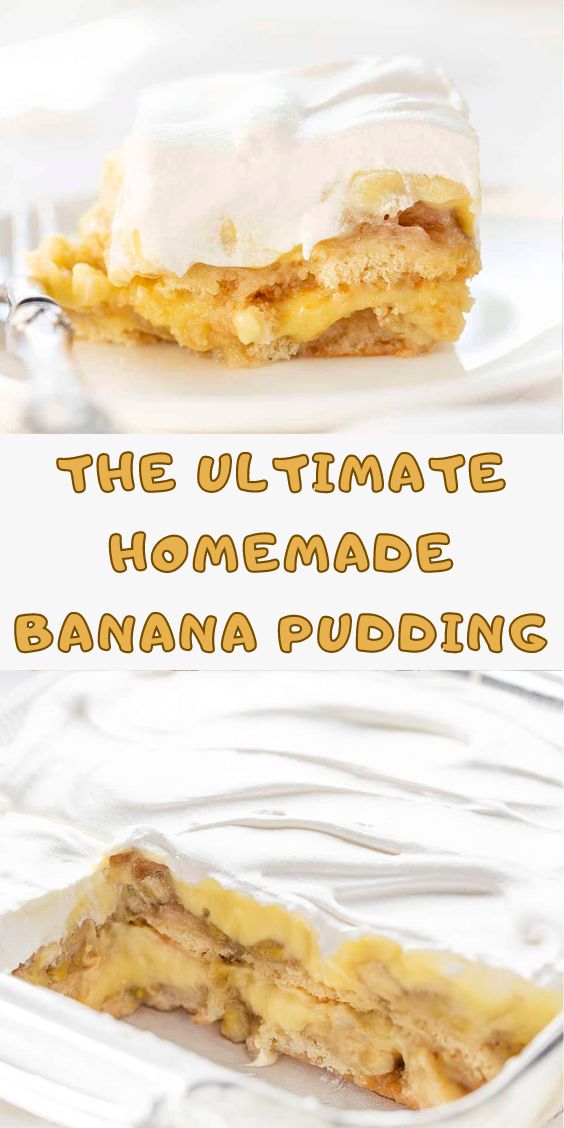
Indulge in this classic Banana Pudding, a timeless dessert featuring layers of creamy homemade vanilla pudding, fresh bananas, and crisp vanilla wafers, all topped with a luscious whipped cream. This recipe allows you to make all four components from scratch, bringing back the traditional flavors and textures that make this dessert so beloved. If you’re a fan of creamy desserts, be sure to check out my Creamy No-Bake Banana Pudding as well!
A Classic Dessert Reimagined
Since Nabisco introduced the banana pudding recipe on the back of their vanilla wafer boxes, this delightful dessert has become a staple in many households. Layers of wafers, banana pudding, and meringue gained popularity, especially with the convenience of instant pudding and canned whipped topping. However, this recipe takes you back to the roots of this historical dessert by making every component by hand. While it may require a bit more effort, the authentic taste of homemade banana pudding is absolutely worth it. (Of course, if you’re short on time, you can substitute some store-bought ingredients.)
Ingredients
There are four essential parts to this recipe—the vanilla pudding, vanilla wafers, banana simple syrup, and whipped cream.
Vanilla Pudding: For the richest flavor, we recommend making your own pudding from scratch. If you prefer, you can use a 3.4-ounce (96 grams) box of instant vanilla pudding mix.
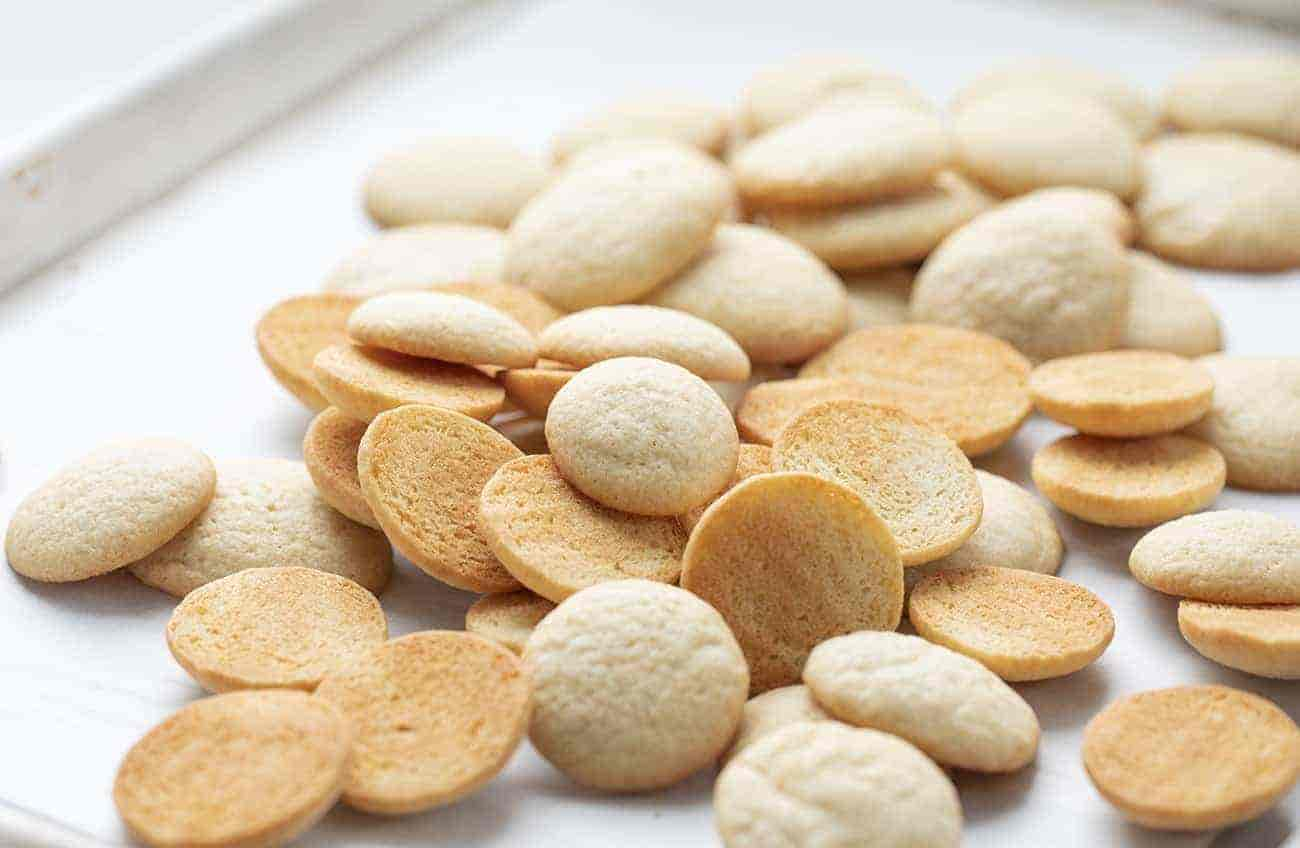
Vanilla Wafers: You’ll need about 70 wafers for this recipe. Homemade wafers provide an unparalleled taste, but store-bought ones will work just fine.
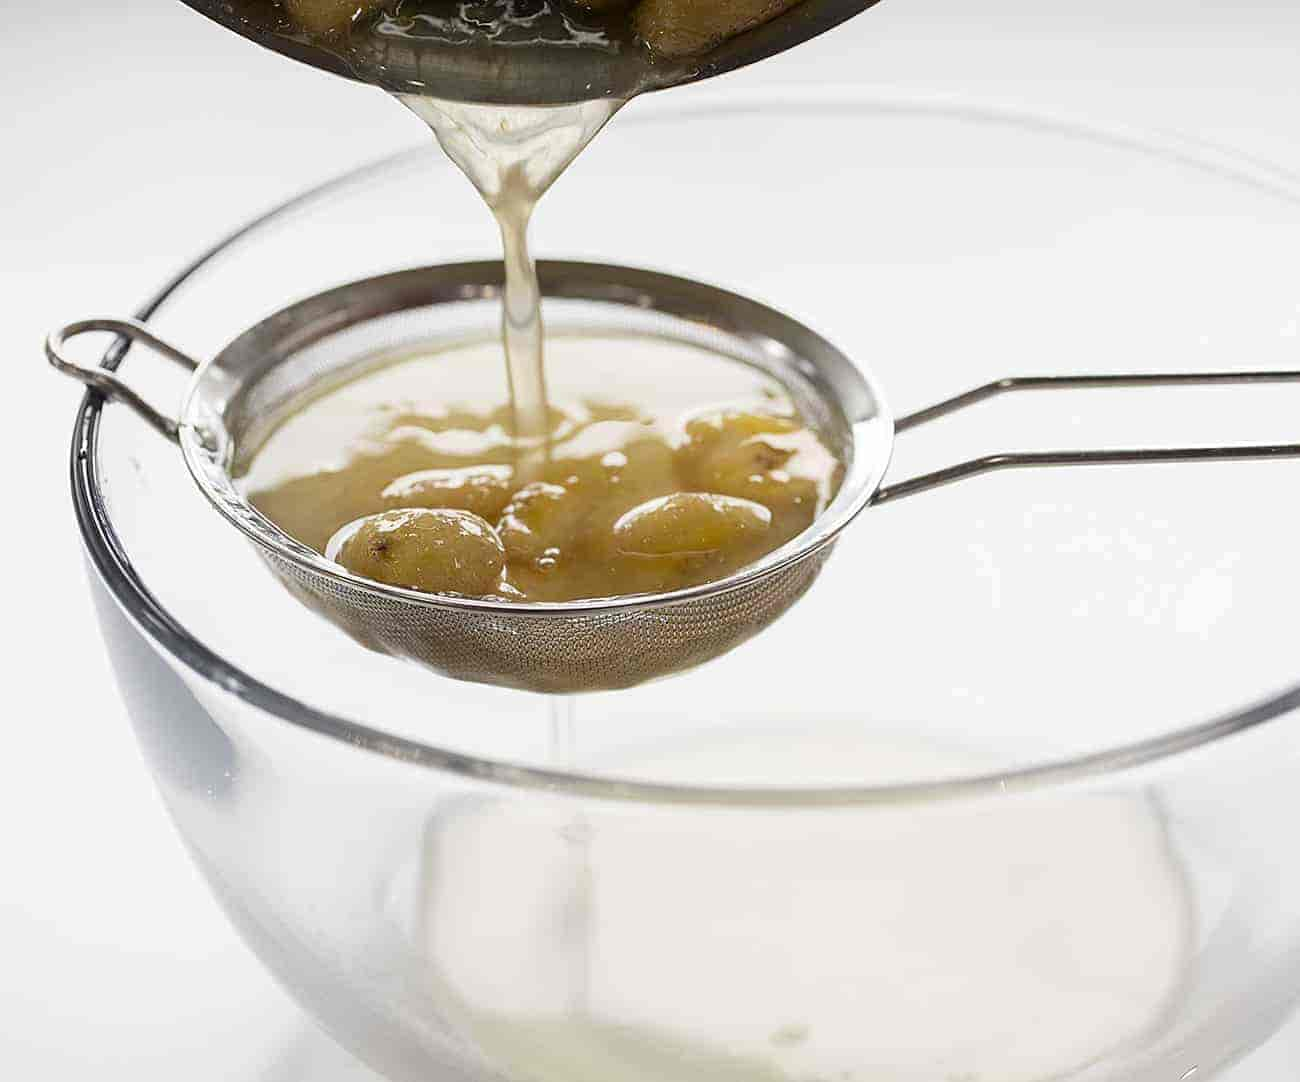
Banana Simple Syrup: This is easy to make at home. If you don’t have any on hand, follow our simple recipe (be sure to double it for this dessert). Remember to save the bananas used in the syrup for layering in the pudding. If you’re not making homemade syrup, have some ripe bananas sliced and ready to use.
Whipped Cream: For the creamiest topping, homemade whipped cream is best. However, a tub of store-bought whipped topping works as well.
Preparing the Ultimate Banana Pudding
It’s best to start by preparing the pudding, especially if you’re making it from scratch and it needs time to set in the refrigerator. While the pudding chills, you can work on the other components—baking the vanilla wafers, making the banana simple syrup, and whipping the cream. Embrace the challenge of creating each element by hand; the result is a decadent, homemade dessert that is sure to impress. Of course, you can always mix and match homemade and store-bought components based on your preference and time constraints.
Make-Ahead Tips
All parts of this dessert can be prepared ahead of time:
- Pudding: Make it a day in advance and store it covered in the refrigerator.
- Vanilla Wafers: Bake them ahead and store in an airtight container at room temperature.
- Banana Simple Syrup: Prepare and refrigerate it for up to a week.
- Whipped Cream: Whip it fresh before assembling for best results, or store it in the refrigerator for up to 24 hours.
When you’re ready to assemble, all the components will be prepared, making the process quick and easy.
How to Store
Once assembled, the banana pudding should be covered and stored in the refrigerator. It will keep well for up to three days. The flavors meld over time, making it even more delicious the next day.
Can You Freeze Banana Pudding?
Yes, you can freeze banana pudding, although the texture may change slightly upon thawing, and the bananas may darken a bit. To freeze, place the assembled dessert in a freezer-safe container and store it for up to one month. Thaw it in the refrigerator before serving.
Ingredients
- 70 vanilla wafers, homemade or store-bought, divided
- ½ cup banana simple syrup, homemade or store-bought
- 6 ripe bananas, chopped, divided
- 1 recipe vanilla pudding, or 1 box (3.4 ounces / 96 grams) vanilla pudding mix, prepared according to package instructions, divided
- Whipped cream, homemade or store-bought
Instructions
Soak the Vanilla Wafers:
- In a large bowl, place the 70 vanilla wafers.
- Pour ½ cup of banana simple syrup over the wafers.
- Let them soak for about 10 minutes to absorb the flavor.
Assemble the Layers:
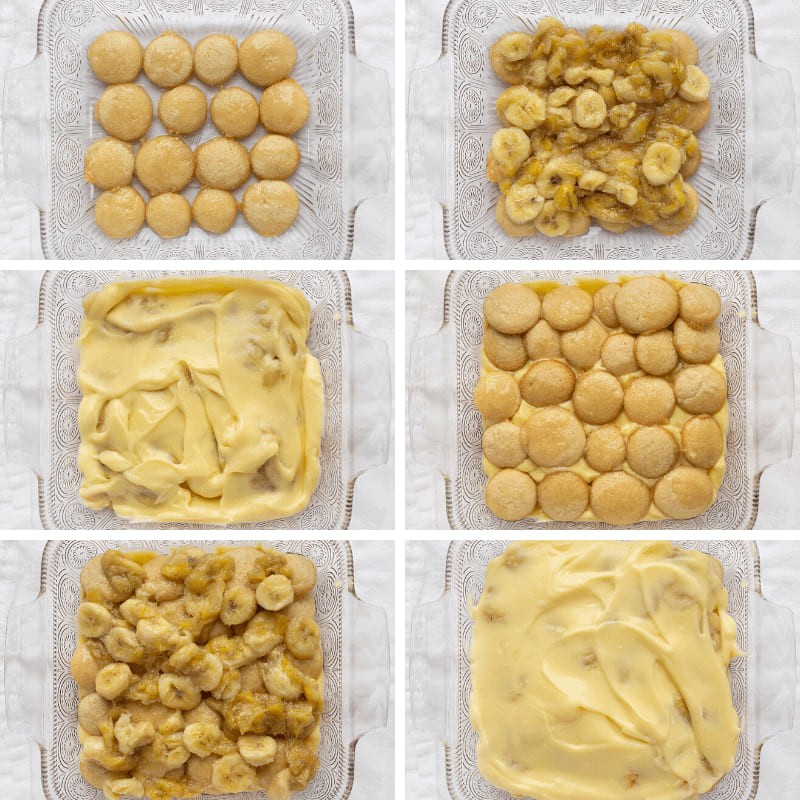
- In an 8×8-inch (20×20 cm) baking dish, start layering:
- Spread ⅓ of the soaked wafers on the bottom.
- Top with ⅓ of the chopped bananas.
- Add ⅓ of the vanilla pudding over the bananas.
- Repeat the layers two more times, ending with a layer of pudding on top.
Add Whipped Cream:
- Spoon the whipped cream over the top layer of pudding.
- Spread it evenly to cover the entire surface.
Chill:
- Cover the dish with plastic wrap.
- Refrigerate for at least 30 minutes before serving to allow the flavors to meld.
Serve:
- Serve chilled.
- Store any leftovers covered in the refrigerator for up to three days.
Enjoy this Ultimate Homemade Banana Pudding, a delightful and creamy dessert that’s sure to become a family favorite!


