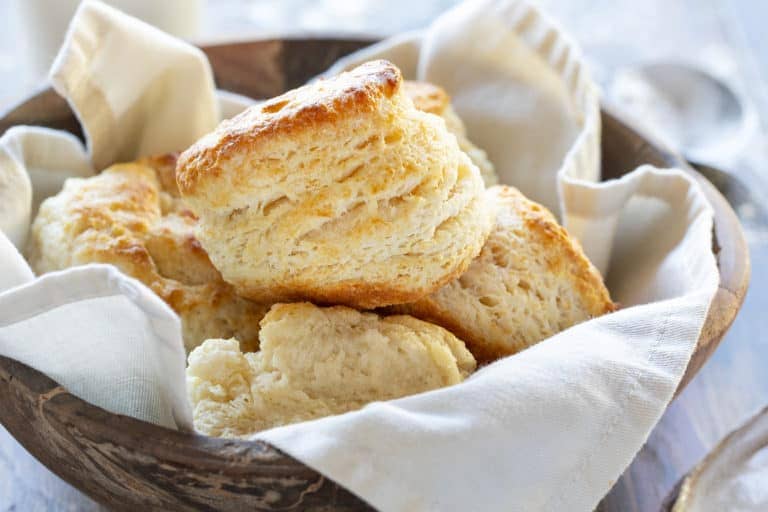
Fast, delicious, and nearly foolproof, these biscuits are sure to become a family favorite. Join the biscuit night excitement and savor the joy on your loved ones’ faces with each delightful bite!
Buttermilk Biscuits Evolution
For as long as I’ve been tall enough to navigate the kitchen, I’ve been whipping up variations of buttermilk biscuits. Drawing inspiration from my mother-in-law’s church cookbook, I decided to tweak the recipe slightly, enhancing the butter incorporation method, adjusting butter quantity, and resizing the serving count. The aim? To ensure these biscuits rise to impressive heights, avoiding the plight of flat, unimpressive counterparts.

Perfecting the Dough
The journey begins with meticulous dough preparation:
- Shape the dough into a rectangle or square on the counter, working in extra flour and loose bits.
- Pat the dough flat with your hand.
- Fold it over once, press to flatten.
- Repeat the folding and pressing two more times, bringing the thickness to 1 1/2 inches.
- Use a biscuit cutter to press out 4 biscuits, then gently reform the dough to cut out one more, creating a total of 5 biscuits. The remaining dough can be shaped into a circle and placed in the center of the baking pan.
The Not-So-Secret Secret: Grated Butter
Here’s the game-changer – grated butter. Inspired by a friend with an adorable diner in rural Minnesota, I adopted the practice of grating butter for an innovative twist. Grating a substantial block and freezing individual portions until ready to bake makes this buttermilk biscuit recipe nearly foolproof. No need for fancy tools; the fine side of a grater does the trick.
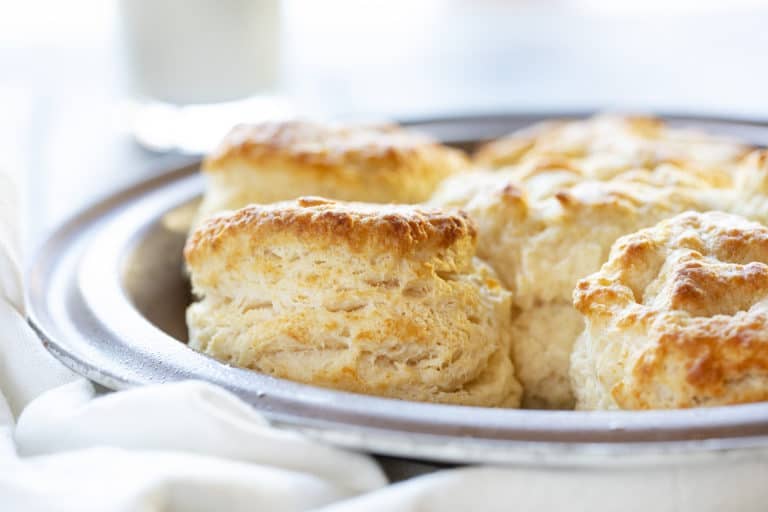
Achieving Mile-High Biscuits
The key to biscuit greatness lies in the thickness of the dough. While many recipes suggest a 1-inch height, I prefer to roll my dough to about 1 1/2 inches (if not taller). Baking 6 biscuits at a time ensures thorough cooking, resulting in golden-brown tops instead of white. Adjust the oven temperature to 450°F for that perfect crunch. Remember, if you prefer white biscuits, limit the dough height to a maximum of 1 inch.

Choosing the Right Cookware
Grandma’s old pie tin steals the show, offering glorious biscuits with even baking. Opt for thin material over glass or dark metal. The type of cookware can impact baking time, with thicker materials requiring a couple of additional minutes. Some swear by a cookie sheet lined with parchment for a different biscuit experience.
Storing and Freezing Wisdom
While biscuits are best enjoyed fresh on baking day, you can prepare ahead:
- Bake the biscuits, allow them to cool to room temperature.
- Wrap tightly with foil (or use plastic wrap if completely cooled) to avoid sogginess.
- Refrigerate until ready to use, warming them in the oven at the lowest temperature for up to 10 minutes.
For those planning ahead, freezing cooled biscuits in a tightly wrapped package ensures freshness for a couple of months.
Ingredients:
- 1/2 cup (1 stick / 113 g) salted butter, grated and cold
- 2 cups (250 g) all-purpose flour
- 1 tablespoon granulated sugar
- 1/4 teaspoon baking soda
- 1 tablespoon baking powder
- 1 cup (245 g) buttermilk
Instructions:
- Preheat oven to 450°F (232°C). Prepare a pie dish or 8×8-inch pan with non-stick spray or GOOP.
- Grate butter using the fine edge of your grater. Grate onto parchment paper and place in the freezer.
- Combine flour, sugar, baking soda, and baking powder in a large bowl, sifting with a whisk.
- Retrieve grated butter from the freezer and incorporate into dry ingredients using a fork.
- Add buttermilk, stir until mostly combined, being careful not to overwork the batter.
- Pour the contents onto a solid surface, gather and press the dough together, adding flour underneath if needed.
- Press the dough into a flat square, about 1 1/2 inches thick. Fold over three times, pressing down after each fold.
- Using a biscuit cutter, press into the dough, creating biscuits. Place them in the prepared pie dish, allowing them to touch.
- Bake for 12-16 minutes until the tops are golden brown with no “wet” spots between the biscuits.
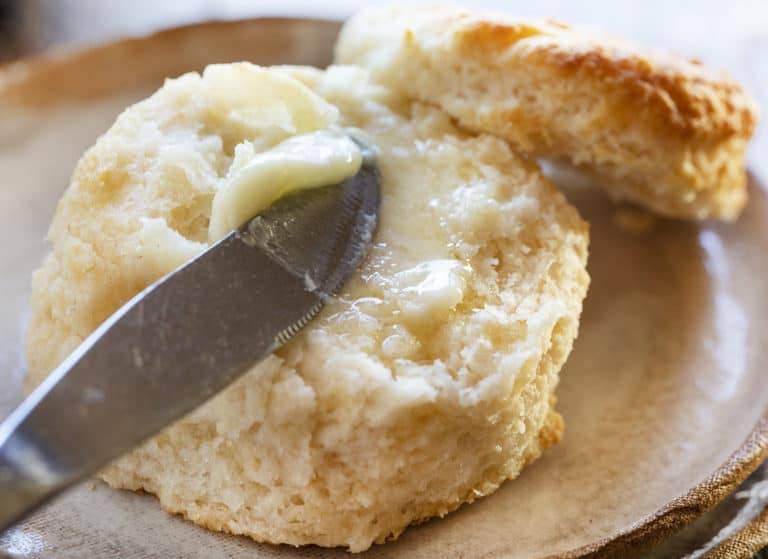
- Remove from the oven, brush with melted butter, and serve immediately. (For later serving, brush with more melted butter before serving.)
Elevate your biscuit experience with these tips, tricks, and a fail-proof buttermilk biscuit recipe!